
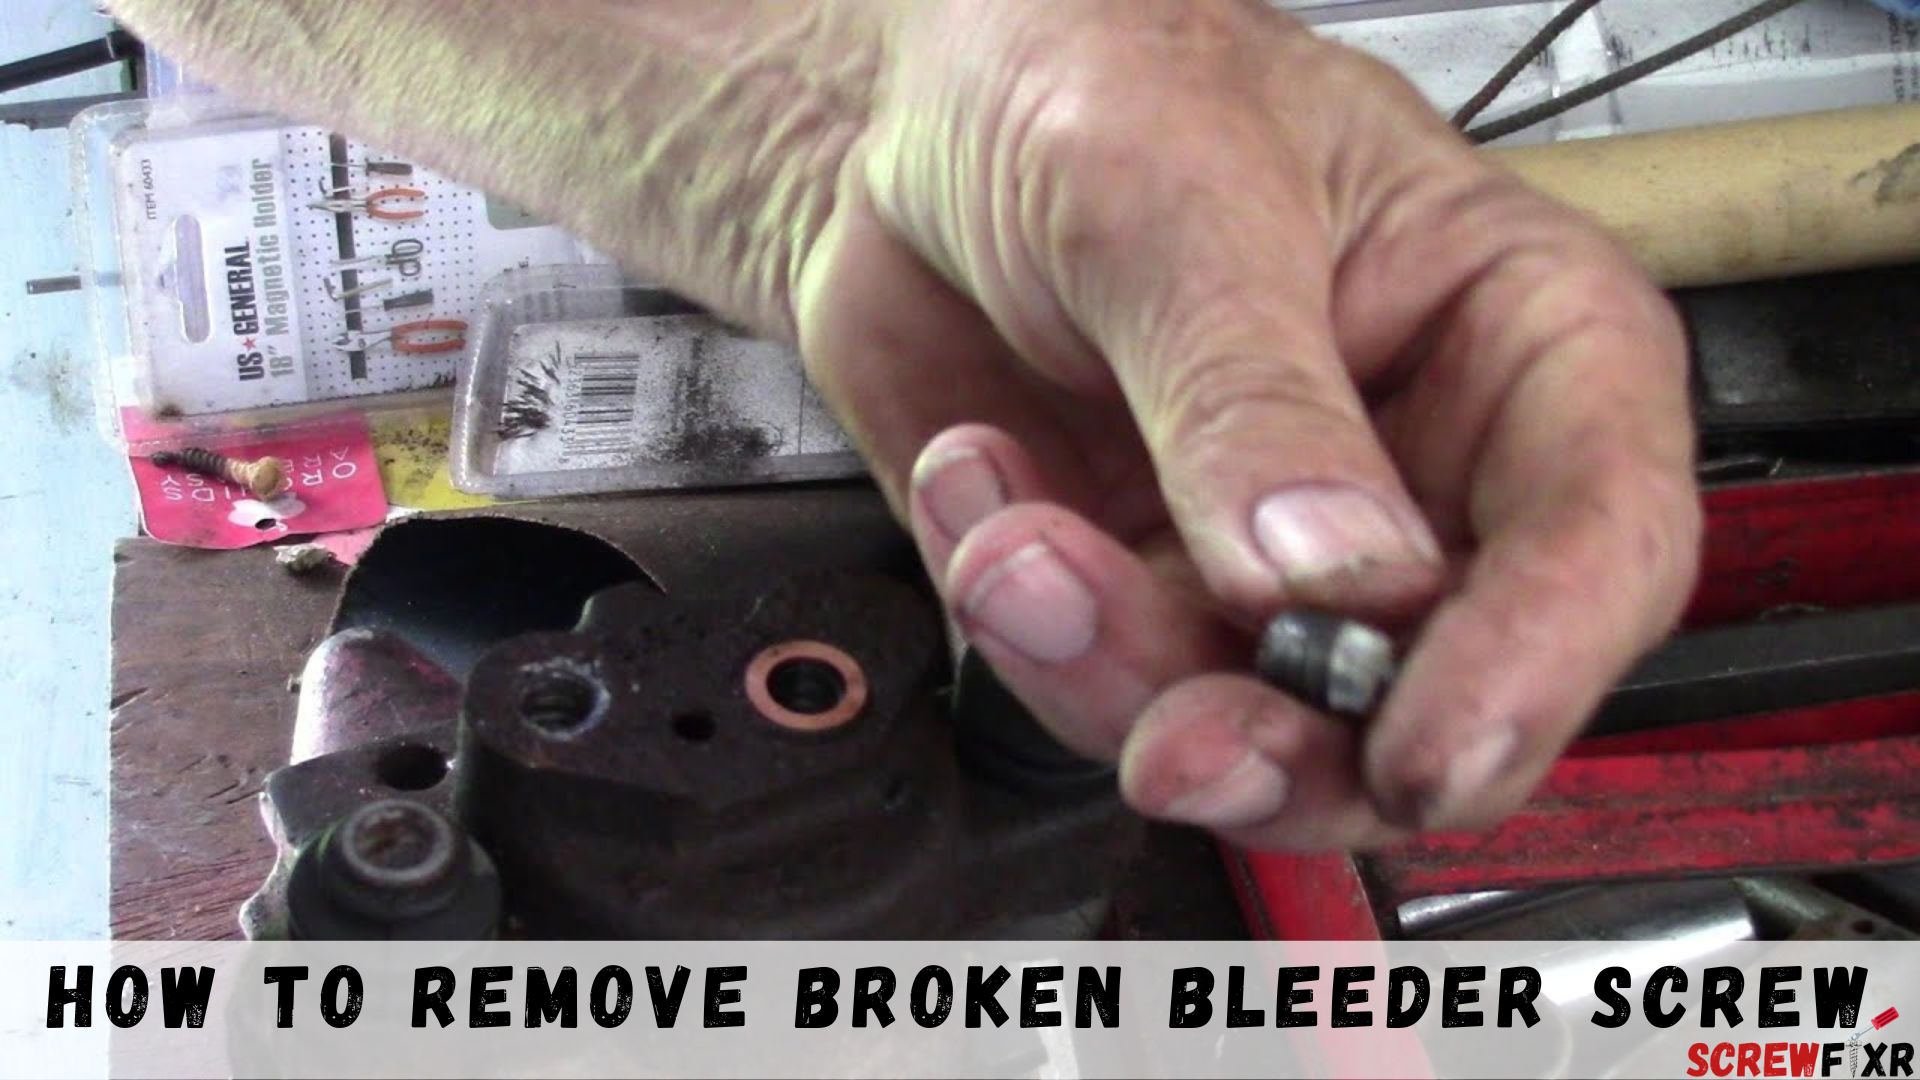
Dealing with a broken bleeder screw can be a frustrating experience, especially if you’re not sure how to handle it. However, fear not! In this comprehensive guide, we will walk you through how to remove broken bleeder screws with confidence and ease. Whether you’re a seasoned DIY enthusiast or a novice, our step-by-step instructions and expert insights will help you tackle this common automotive issue like a pro.
Safety Precautions
When working with your vehicle’s brake system, it’s paramount to prioritize safety. Brake maintenance involves handling potentially hazardous materials and working near heavy machinery. To ensure your well-being, follow these essential safety precautions:
1. Eye Protection and Gloves
Eye Protection: Wear safety goggles or protective glasses to shield your eyes from any debris, brake fluid, or contaminants that may be released during the maintenance process. These protective items are crucial in preventing eye injuries.
Gloves: Put on nitrile or latex gloves before handling brake components or brake fluid. Gloves not only keep your hands clean but also protect your skin from exposure to brake fluid, which can be corrosive.
2. Ensuring a Well-Ventilated Workspace
Proper Ventilation: Conduct brake maintenance in a well-ventilated area, such as a garage with open doors or a space equipped with exhaust fans. Brake fluid vapors and fumes can be harmful when inhaled, so adequate ventilation is essential to maintain air quality.
Avoid Closed Spaces: Never work on your brakes in an enclosed or confined area without proper ventilation. If indoor workspace ventilation is insufficient, consider using a portable fan or working outdoors.
3. How to Safely Lift and Secure the Vehicle
Use Jack Stands: When lifting your vehicle, always use a hydraulic jack and secure it with jack stands. Never rely solely on the jack to support the vehicle’s weight, as jacks can fail, leading to dangerous situations.
Choose a Level Surface: Ensure that the ground where you place the jack and jack stands is level, stable, and capable of supporting the weight of the vehicle.
Block the Wheels: Before lifting the vehicle, block the wheels that will remain on the ground to prevent rolling.
Emergency Brake: Engage the vehicle’s emergency brake to add an extra layer of security.
Refer to Your Vehicle Manual: Consult your vehicle’s manual for specific lifting and securing instructions, as different vehicle models may have unique requirements.
4. Dealing with Brake Fluid Safely
Protective Measures: When handling brake fluid, follow these precautions:
- Safety Glasses and Gloves: Wear safety glasses and gloves to protect your eyes and skin from exposure to brake fluid.
- Avoid Skin Contact: If brake fluid touches your skin, make sure to cleanse the affected area thoroughly with soap and water.
- Do Not Ingest: Never consume or ingest brake fluid, as it is toxic.
Catch Spills: Place an absorbent mat or tray under the brake components you are working on to catch any brake fluid spills. This prevents the fluid from contaminating the workspace.
Proper Disposal: Dispose of used brake fluid by local regulations. It should never be poured down drains or onto the ground.
By adhering to these safety precautions, you can help ensure a safe and secure environment when working on your vehicle’s brake system. Prioritizing safety not only protects you but also enhances the overall effectiveness and success of your brake maintenance tasks.
How to Remove Broken Bleeder Screw
When it comes to tackling a broken bleeder screw, it’s essential to have the right tools, knowledge, and patience. Let’s dive into the process:
Assess the Situation
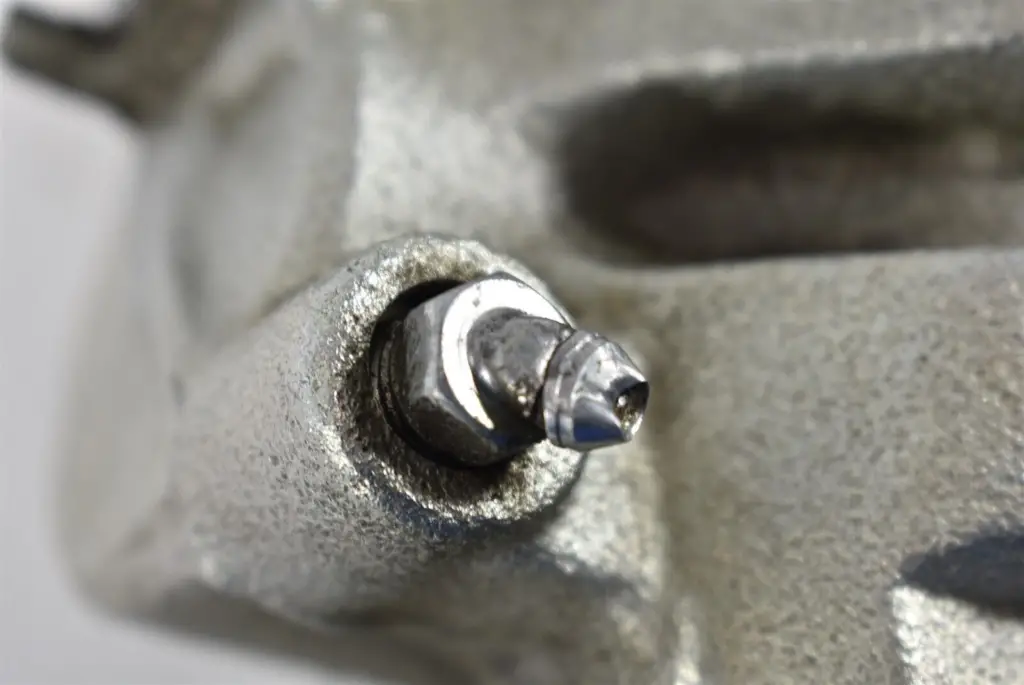
Before you start, it’s crucial to assess the condition of the broken bleeder screw. Is it partially or completely snapped off? Understanding the extent of the damage will guide your approach.
Gather Your Tools
To successfully remove a broken bleeder screw, gather the following tools:
- Vice grips: These will help you get a firm grip on the screw.
- Penetrating oil: Use it to loosen rust and corrosion.
- Drill with bits: You may need to drill into the screw for extraction.
- Easy-out or screw extractor: Essential for removing the broken piece.
- Heat source (optional): Heat can expand the metal, aiding in removal.
- Safety gear: Wear gloves and safety goggles throughout the process.
Apply Penetrating Oil
Begin by applying penetrating oil to the broken bleeder screw. This will help loosen any rust or corrosion, making it easier to turn.
Use Vice Grips
Carefully grip the exposed part of the broken screw with vice grips. Ensure a firm hold, and turn it counterclockwise to attempt removal. If it doesn’t budge, don’t force it; move on to the next step.
Drill a Hole
If the vice grips fail to turn the screw, you may need to drill a hole into the center of the screw. Use a drill bit that’s slightly smaller than the screw’s diameter.
Insert an Easy-Out
With a hole drilled, insert the easy-out or screw extractor into the hole. Turn it counterclockwise, applying steady pressure. The extractor should grip the screw and allow you to unscrew it.
Apply Heat (If Necessary)
In cases of extreme corrosion, applying heat to the surrounding area can help expand the metal, making removal easier. Use a propane torch carefully and sparingly.
Clean the Threads
Once the broken bleeder screw is removed, clean the threads in the bleeder hole using a tap. This will ensure a secure fit for the replacement bleeder screw.
Alternative Methods for Removing Broken Bleeder Screws
While the conventional methods for removing a broken bleeder screw involve wrenches and extractor tools, there are alternative approaches that can be employed if these standard methods prove ineffective or if you’re faced with a particularly stubborn situation. Here are some alternative methods to consider:
1. Heat Application
When to Use: Heat can be particularly useful when dealing with bleeder screws that have become stuck due to rust, corrosion, or thread lock compounds.
How to Apply Heat:
- Use a propane torch or a heat gun to heat the area around the broken bleeder screw.
- Apply heat evenly, focusing on the bleeder screw itself.
- Thermal expansion can help break the corrosion or seal, making it easier to turn the screw with a wrench or extractor tool.
Caution: Be cautious when applying heat near brake components, as excessive heat can damage rubber seals and brake lines. Ensure the brake fluid reservoir is covered to prevent fluid from overheating.
2. Tapping and Drilling
When to Use: Tapping and drilling are suitable when the bleeder screw is severely damaged, and conventional extraction methods are unsuccessful.
Steps:
- Carefully drill a small hole into the center of the broken bleeder screw.
- Use a tap-and-die set to create new threads within the hole.
- Insert a threaded bolt or screw extractor into the newly created threads and turn it counterclockwise to remove the damaged screw.
Caution: This method should be performed with precision to avoid damaging the surrounding brake components.
3. Welding
When to Use: Welding can be an effective method when all else fails, and the broken bleeder screw is entirely stuck or stripped.
Steps:
- Weld a small metal rod or bolt to the top of the broken bleeder screw.
- Allow the weld to cool, forming a solid connection.
- Use a wrench to turn the welded rod counterclockwise, effectively unscrewing the broken bleeder screw.
Caution: Welding should only be attempted by individuals with welding expertise, as it carries potential risks such as fire, damage to surrounding components, and personal injury.
Preventing Future Issues
Ensuring the longevity and reliability of your brake system extends beyond just knowing how to remove a broken bleed screw. To prevent future issues and maintain your brakes at peak performance, consider the following proactive measures:
1. Lubricating and Maintaining Bleeder Screws
Importance of Lubrication: Regularly lubricating your bleeder screws can help prevent them from seizing or corroding over time. This simple maintenance task can extend the life of these critical components.
Procedure:
- Apply a small amount of anti-seize compound or brake grease to the threads of the bleeder screw during brake system assembly.
- Ensure the bleeder screw is tightened to the manufacturer’s recommended torque specifications.
2. Periodic Brake System Inspections
Regular Check-Ups: Scheduled inspections of your brake system are essential for early detection of potential problems. Regularly examine the condition of your brake components to identify issues before they become critical.
What to Look For:
- Brake pad and rotor wear.
- Brake fluid level and condition.
- Brake line integrity.
- The functionality of calipers and wheel cylinders.
- Any signs of leaks, corrosion, or unusual wear patterns.
Frequency: Perform brake system inspections at least once a year or as recommended by your vehicle’s manufacturer.
3. Proper Installation Techniques
Attention to Detail: When replacing or servicing your brake system, always follow proper installation techniques and procedures. This includes correctly torquing bleeder screws, caliper bolts, and all brake system components.
Use of Torque Specifications: Refer to your vehicle’s service manual for recommended torque specifications to avoid over-tightening or under-tightening components, which can lead to problems like broken bleeder screws.
4. Choosing High-Quality Components
Quality Matters: Opt for high-quality brake components when replacing parts in your brake system. This includes bleeder screws, brake pads, rotors, calipers, and brake fluid.
Benefits of Quality Components:
- Enhanced durability and longevity.
- Improved braking performance and safety.
- Reduced risk of component failure.
Frequently Asked Questions (FAQs)
Can I use regular pliers instead of vice grips?
Yes, you can use regular pliers if vice grips are not available, but vice grips provide a better grip and control.
Is penetrating oil necessary, or can I skip it?
Penetrating oil is highly recommended as it significantly improves your chances of loosening a stubborn screw.
What if the screw is completely flush with the surface?
If the screw is flush with the surface, you may need to drill a small hole in the center and use a left-hand drill bit for extraction.
Can I reuse the same bleeder screw?
It’s best to replace the broken bleeder screw with a new one to ensure the integrity of your brake system.
Is it safe to use a propane torch near brake components?
While it’s generally safe, extreme caution is necessary when using a torch near brake components to avoid damage or accidents.
How do I prevent future bleeder screw issues?
Regular maintenance, including greasing threads and using anti-seize compound, can help prevent future bleeder screw problems.
Conclusion
Removing a broken bleeder screw may seem daunting, but with the right tools and techniques, it’s a manageable DIY task. Remember to assess the situation, gather your tools, and proceed carefully. Whether you’re a seasoned mechanic or a novice, following these steps will help you resolve this common automotive issue with confidence.
So, the next time you encounter broken bleed screws, don’t panic. Follow our guide, and you’ll have it removed in no time, ensuring your vehicle’s brake system stays in top shape.
