
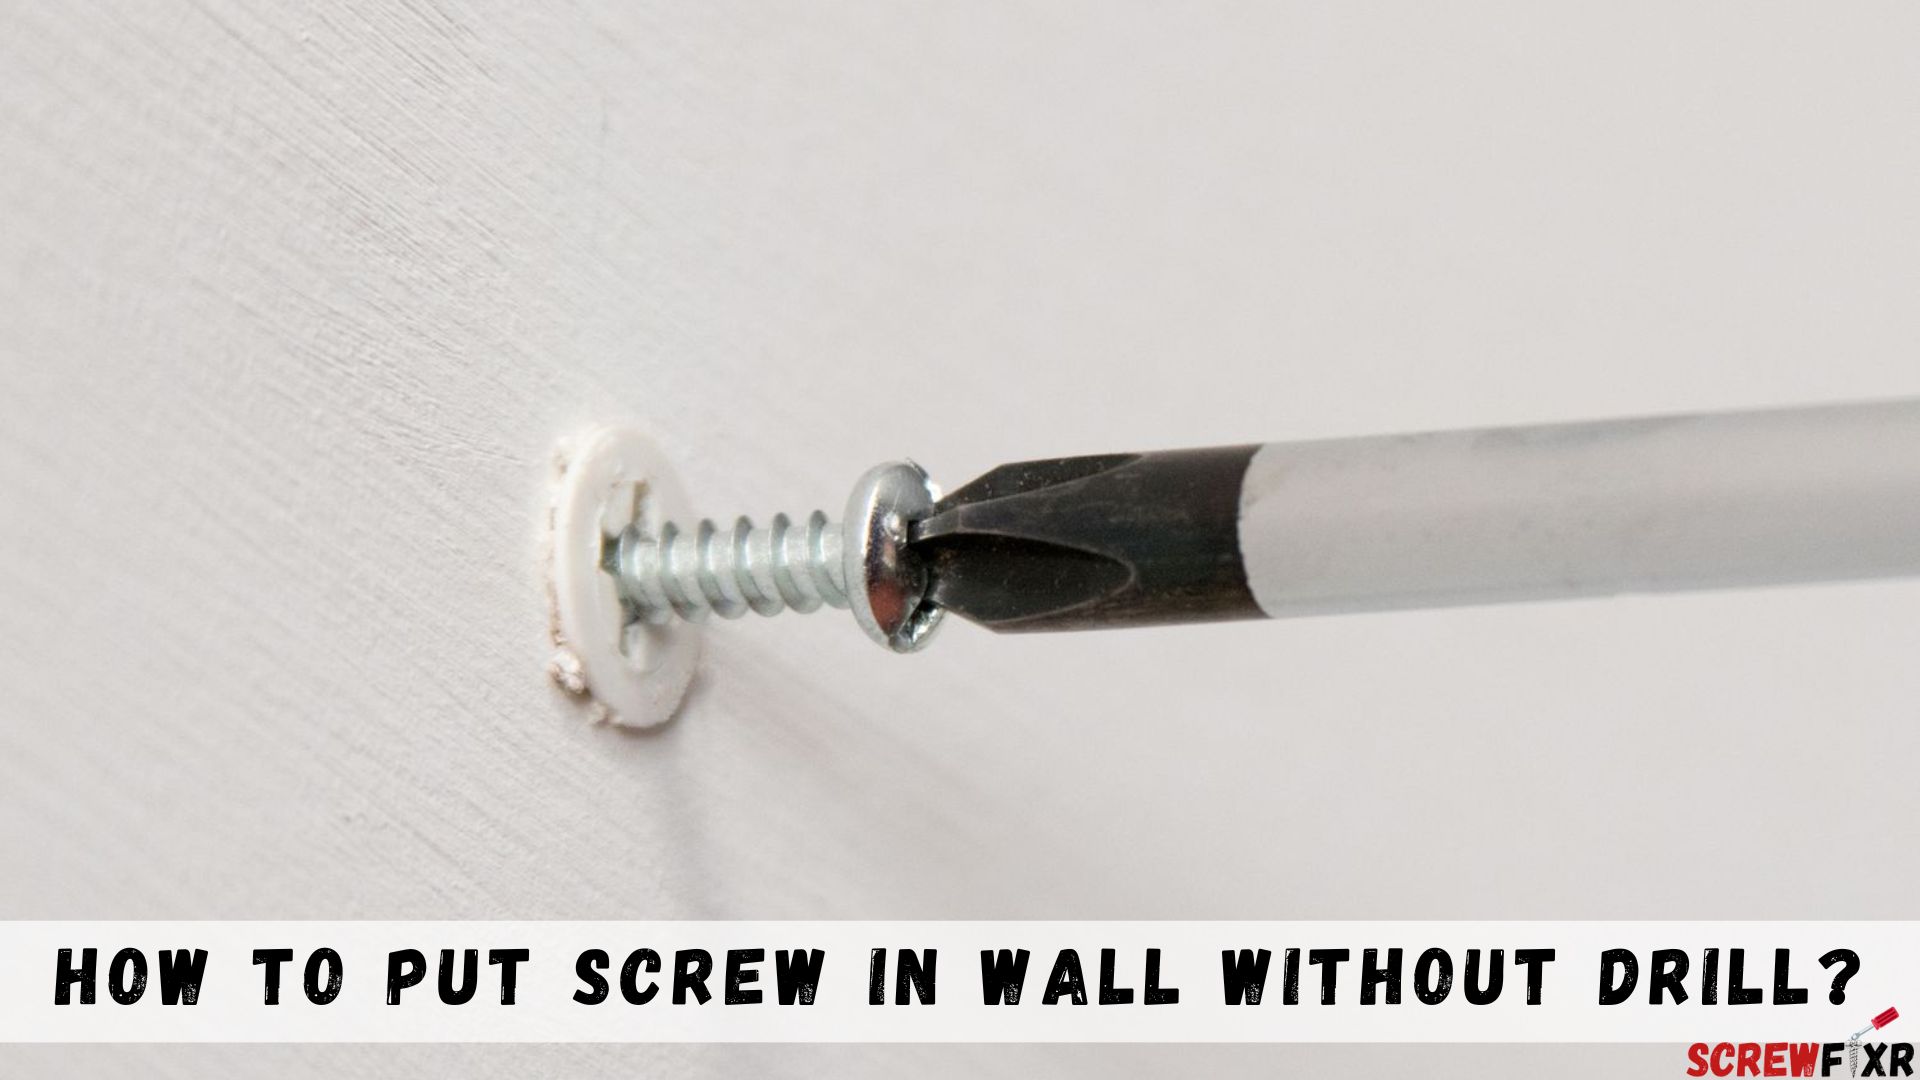
Knowing how to put screw in wall without drill is a valuable skill for any DIY enthusiast or homeowner. Whether you’re hanging artwork, shelves, or other fixtures, there are situations where a drill might not be available or suitable. In such cases, mastering alternative methods can save you time, effort, and the need for specialized equipment.
This comprehensive guide will walk you through multiple techniques for putting a screw in the wall without relying on a drill. We’ll provide step-by-step instructions and offer essential tips to ensure your success in various scenarios. So, whether you’re a beginner looking to learn the basics or an experienced DIYer seeking creative solutions, this guide has you covered. Let’s get started!
How to Put Screw In Wall Without Drill
Tools and Materials
Before you embark on putting a screw in the wall without a drill, it’s essential to gather the necessary tools and materials. Each item serves a specific purpose in achieving a successful outcome. Here’s a list of what you’ll need and why:
- Screws: Naturally, screws are at the heart of this task. They are used to secure items to the wall. Choose the appropriate size and type of screw based on the weight of the object you plan to hang.
- Screwdriver: A screwdriver is a versatile hand tool used to turn and fasten screws. It’s crucial for the methods involving manual screw installation.
- Wall Anchors: Wall anchors are essential for securing screws in walls that might not have adequate structural support. They distribute the load and prevent damage to the wall.
- Toggle Bolts: Toggle bolts are robust fasteners that are suitable for heavier items or walls with limited support. They anchor securely behind the wall, providing stability.
- Wall Adhesive: Wall adhesive or adhesive putty can be used to attach lightweight items to the wall without the need for screws or nails. It’s especially useful for temporary or removable installations.
- Hammer: A hammer is necessary if you’re using the hammer and nail method. It’s used to drive the nail into the wall surface.
- Nails: If you opt for the hammer and nail technique, you’ll need nails. Choose the appropriate nail size and type depending on the weight of the object you’re hanging.
- Measuring Tape: Accurate measurements are crucial for proper placement of screws, anchors, or nails. A measuring tape helps ensure your installation is level and precise.
- Pencil or Marker: These are used to mark the wall where you intend to install the screw or anchor. Marking helps you maintain accuracy during the process.
- Level: A level is used to ensure that your installation is straight and even. It prevents items from hanging crookedly on the wall.
- Stud Finder: If you’re looking to secure screws into wall studs, a stud finder is invaluable. It locates the wooden framework behind your wall, providing a solid anchor point.
- Awl or Small Nail: For methods involving creating starter holes, an awl or a small nail is necessary to make a small indentation in the wall, which makes it easier to insert screws or anchors.
- Safety Gear: Safety should always be a priority. Depending on the method you choose, safety gear such as safety glasses and gloves may be necessary to protect your eyes and hands.
- Ladder or Step Stool: If you’re working on a higher section of the wall, a ladder or step stool will provide safe access.
- Masking Tape (optional): For delicate wall surfaces, masking tape can help prevent damage while marking or attaching items.
Having these tools and materials at your disposal ensures that you’re well-prepared to tackle the task of putting a screw in the wall without a drill. The right selection and proper use of these items will lead to a successful and secure installation.
Safety Precautions
Working with screws and walls, even without a drill, involves potential hazards. Prioritizing safety is essential to prevent accidents and ensure a successful project. Here’s why safety is crucial, along with some key safety tips to follow throughout the process:
Importance of Safety:
- Preventing Injuries: Accidents can happen when handling tools or when objects are improperly secured. Safety precautions are essential to minimize the risk of injuries.
- Minimizing Damage: Using the wrong tools or techniques can damage walls, leaving unsightly holes or cracks. Safety measures help protect your property.
- Avoiding Wall Damage: Incorrect screw placement or excessive force can damage walls, which can be costly and time-consuming to repair.
- Ensuring Stability: Safety precautions, such as proper wall anchoring, ensure that objects remain securely in place, preventing potential accidents caused by falling items.
Safety Tips:
- Wear Safety Gear: Depending on the method used, consider wearing safety glasses and gloves to protect your eyes and hands from debris and potential accidents.
- Check Wall Material: Before proceeding, determine the type of wall material (drywall, plaster, concrete) to select the appropriate tools and methods.
- Use the Right Tools: Always use the correct tools and materials for the task at hand. This includes selecting the right screwdriver, anchors, or adhesives.
- Steady Ladder or Stool: If you need a ladder or stool to reach higher areas, ensure it’s stable and on a flat surface to prevent falls.
- Identify Wall Studs: If securing screws into studs, use a stud finder to locate them. This ensures a secure anchor point.
- Mark the Wall: Use a pencil or marker to clearly mark the spot where you plan to install screws, anchors, or nails. This helps maintain accuracy.
- Create Starter Holes Carefully: If creating starter holes with an awl or small nail, do so cautiously to avoid damaging the wall or injuring yourself.
- Follow Weight Limits: Ensure that the chosen method and hardware can support the weight of the item you’re hanging.
- Securely Fasten Anchors: If using wall anchors or toggle bolts, make sure they are inserted securely into the wall. Follow manufacturer instructions.
- Use a Level: Use a level to ensure that your installation is straight and even. This prevents items from hanging crookedly.
- Avoid Over-Tightening: When inserting screws or fasteners, avoid over-tightening, which can damage the wall or strip the screw.
- Clean Work Area: Keep your work area tidy by clearing away debris and unused tools. This reduces the risk of tripping or accidents.
- Seek Assistance: If you’re unsure about a specific step or if a task seems beyond your capabilities, consider seeking assistance from a professional.
how to put screw in wall without drill
Read Also: Tiny Screw Won’t Come Out – Best Tips To Remove It
Step-By-Step Processes
- Choosing the Right Screw
Selecting the right screw for the job is crucial. Consider the following factors:
- Length: Ensure the screw is long enough to securely anchor your object to the wall without protruding.
- Type: Wood screws are for wooden walls, while drywall screws are for plasterboard or sheetrock.
- Weight Capacity: Determine the weight of the object you’re hanging to choose the appropriate screw thickness and wall anchor if needed.
- Locating Wall Studs
Locating wall studs is crucial for stability. Here’s how:
- Knock on the wall lightly; the sound will change when you hit a stud.
- Use a stud finder for more accuracy.
- Measure 16 inches from the corner; studs are typically spaced at this interval.
- Marking and Measuring
Once you’ve found the right spot:
- Use measuring tape and a pencil to mark the exact spot where the screw will go.
- Ensure it’s level if you’re hanging something that needs to be straight.
- Pilot Holes
Before inserting the screw, create a pilot hole with a screwdriver or a nail:
- This makes it easier to drive the screw into the wall.
- Make the hole slightly smaller than the screw’s diameter.
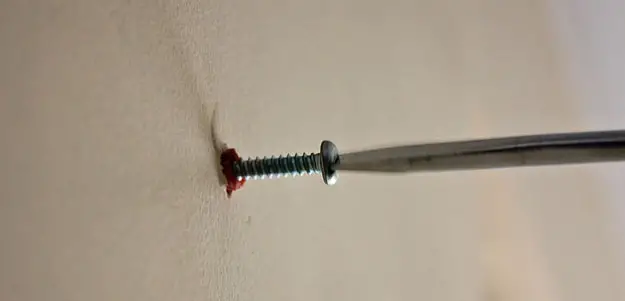
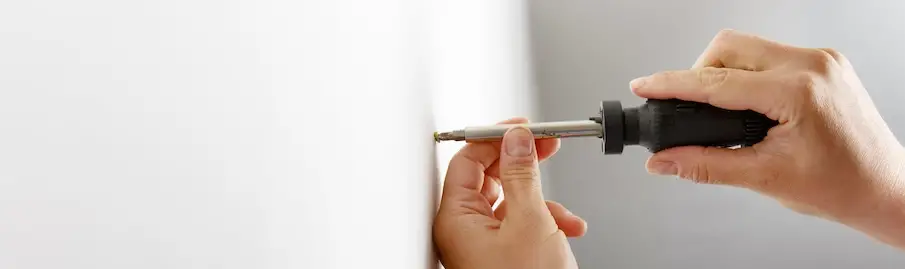
- Driving the Screw
With your screwdriver, start driving the screw into the pilot hole:
- Apply steady pressure and turn clockwise.
- Keep the screw straight and flush with the wall surface.
- If you encounter resistance, use a bit more force, but be careful not to over-tighten and damage the wall.
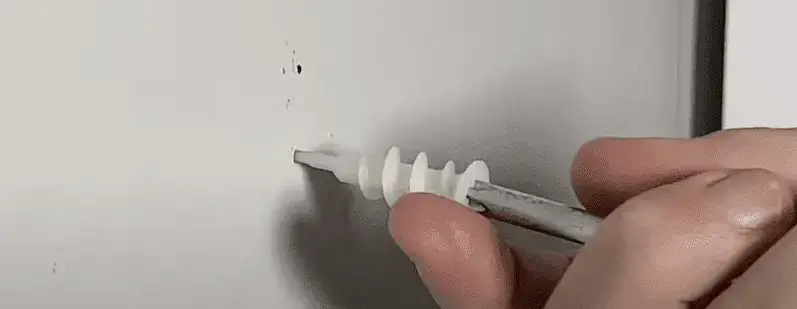
- Using Wall Anchors
For heavier objects, use wall anchors:
- Drill a hole in the wall with a masonry bit.
- Insert the anchor and screw the screw into it.
- Alternative Methods
If you don’t have a screwdriver, you can use these alternative methods:
- Screw and Pliers: Hold the screw with pliers and turn it into the wall.
- Screw and Coin: Place a coin over the screw head and turn it with pliers or your fingers.
- Screw and Screwdriver Bit: Attach a screwdriver bit to the screw and turn it manually.
Frequently Asked Questions
Can I use any type of screw for this?
Yes, but it’s crucial to match the screw type with the wall material. Wood screws for wood, drywall screws for drywall, etc.
What if the screw won’t go in?
Ensure you’ve created a pilot hole, and the screw is not too thick for the wall material. Apply steady pressure.
Do I need wall anchors for lightweight objects?
For very lightweight objects, like small picture frames, you may not need anchors. A screwdriver should suffice.
Can I use my fingers to turn the screw?
Yes, for small screws and softer walls, you can use your fingers to turn the screw into the wall.
How deep should I drive the screw?
The screw should be flush with the wall surface, not over-tightened or protruding.
Can I use a power drill with a screwdriver bit?
Yes, if you have a power drill, you can attach a screwdriver bit and use it instead of a manual screwdriver.
Conclusion
Putting a screw in the wall without a drill is a handy skill for any DIY enthusiast. With the right tools and techniques, you can confidently hang your favorite artwork or shelving securely. Remember to choose the right screw, locate wall studs, and create pilot holes for the best results. Whether you’re a seasoned DIYer or just getting started, this guide equips you with the knowledge to tackle this task effectively.
