
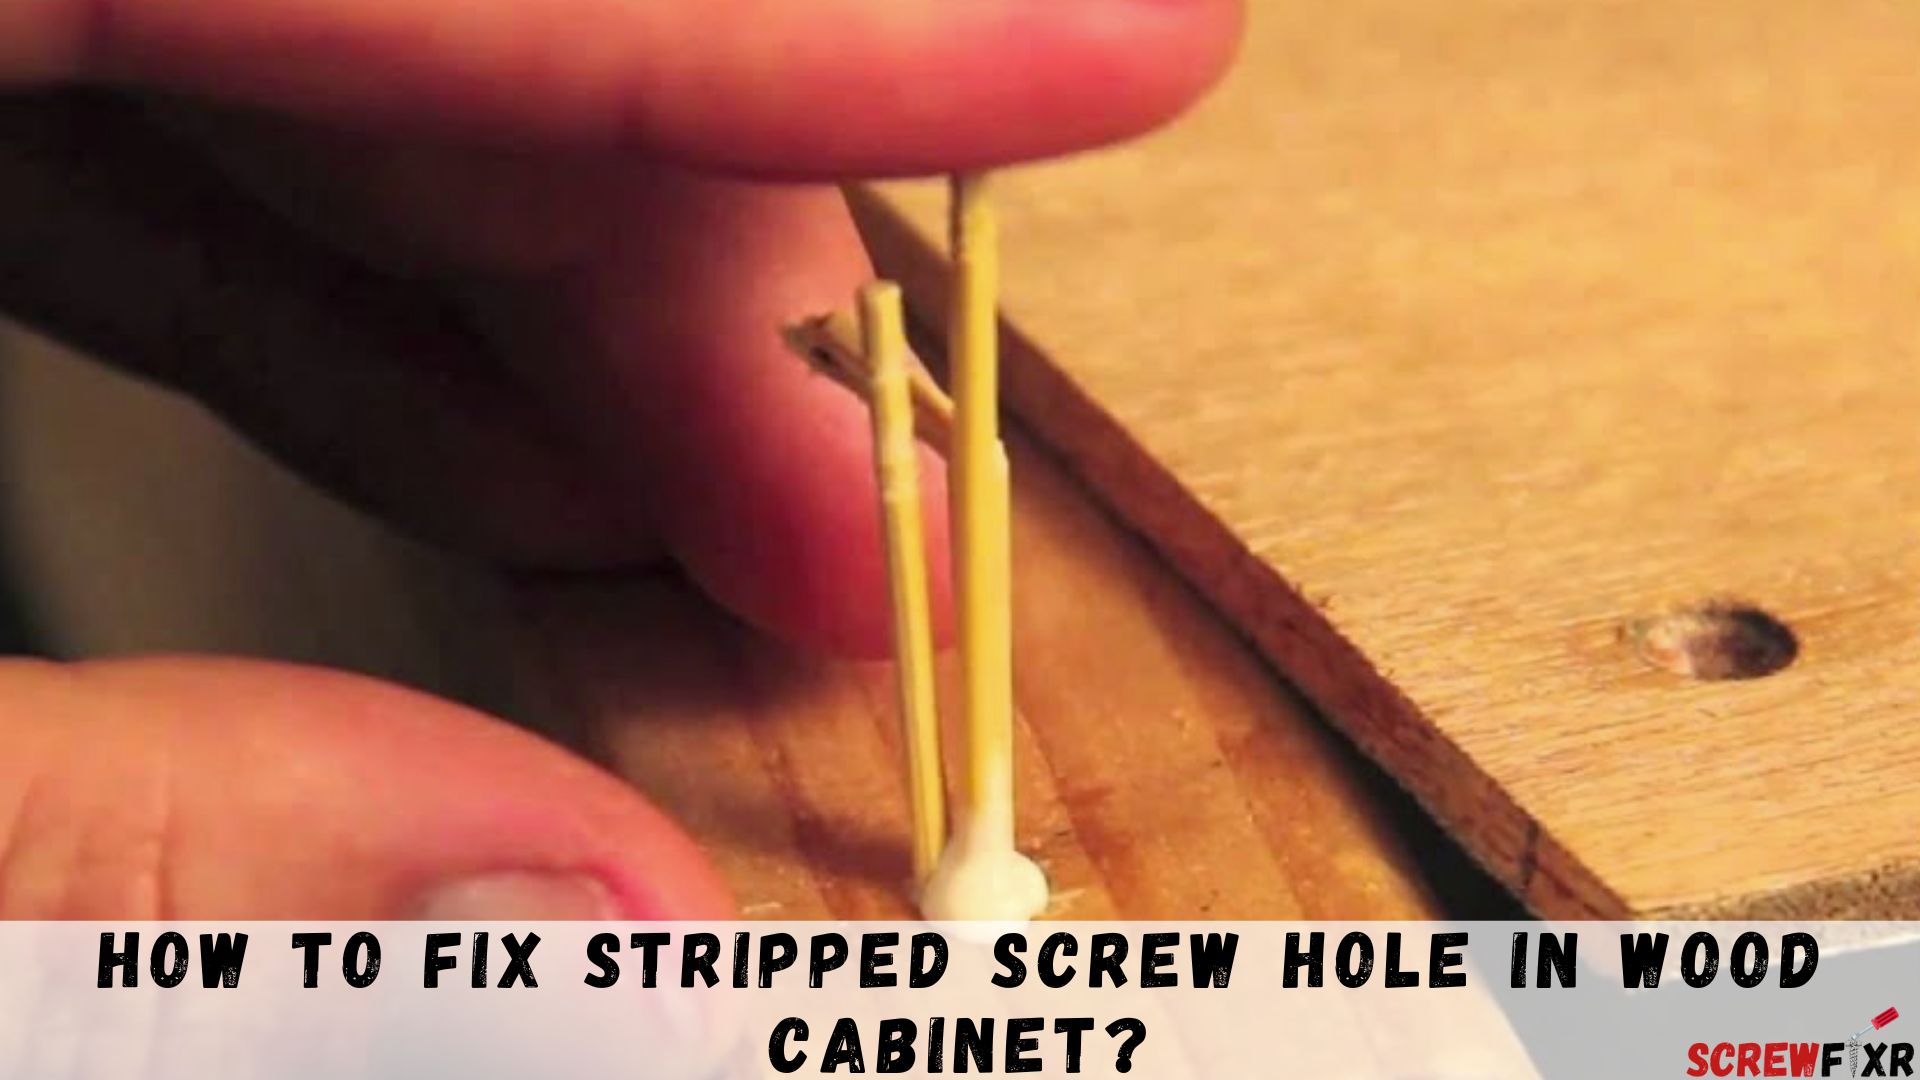
Wood cabinets add a touch of elegance and functionality to any space. However, over time, the screws holding them together can become loose and damage the screw holes, making it frustrating to keep them in place. But fret not! In this comprehensive guide, we will walk you through the process to fix stripped screw hole in wood cabinet. Whether you’re a seasoned DIY enthusiast or a novice, our step-by-step instructions and expert tips will help you restore your cabinet to its former glory.
Why Do Screw Holes Strip?
Before we dive into the solutions, it’s essential to understand why screw holes in wood cabinets strip in the first place. Common factors include:
- Over-tightening
When we apply excessive force while fastening screws, it can cause the surrounding wood to splinter and weaken, leading to stripped holes.
- Age and Wear
As cabinets age, the wood can naturally deteriorate, making it more susceptible to screw hole stripping, especially in high-traffic areas.
- Incorrect Screw Size
Using screws that are too large for the holes or the wood can result in damage to the cabinet material and stripped holes.
How to Fix Stripped Screw Hole in Wood Cabinet
When faced with a stripped screw hole in your wood cabinet, it’s essential to tackle the issue promptly and effectively. Here’s a detailed guide on how to fix it:
Assess The Damage
Begin by examining the stripped screw hole. Determine the extent of the damage. Is it a minor issue, or has the hole become significantly enlarged? Understanding the damage will help you choose the most appropriate repair method.
Gather Your Tools and Materials
To fix a stripped screw hole in a wood cabinet, you’ll need some tools and materials. Here’s a list of what you’ll require:
Tools:
- Screwdriver: Choose a screwdriver that matches the size of the screw you intend to use.
- Drill and Drill Bits: You’ll need a drill to create a new hole or widen the existing one.
- Pliers or Needle-Nose Pliers: These can be handy for removing the stripped screw if it’s already in place.
- Hammer: You may need this to tap in wooden dowels or toothpicks.
Materials:
- Wooden Toothpicks or Matchsticks: These can be used to fill the stripped hole.
- Wooden Dowels: If the hole is larger or severely stripped, wooden dowels can provide a more substantial fix.
- Wood Glue: To secure the toothpicks, matchsticks, or dowels in place.
- Sandpaper: To smooth any rough edges or surfaces.
- Screws: New screws that are appropriate for your cabinet. Ensure they are slightly shorter than the depth of the hole to avoid damaging the cabinet’s interior.
- Screw Hole Repair Kit (Optional): These kits typically include screw hole plugs and a special drill bit. They can be a convenient solution for fixing stripped screw holes.
Remove the Loose Screw
Carefully unscrew the loose or damaged screw from the cabinet. Be gentle to avoid further damage to the hole.
Fill the Hole with Wooden Toothpicks
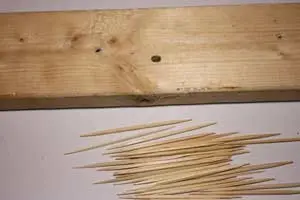
Take wooden toothpicks and dip them in wood glue. Insert them into the stripped hole one by one until it’s tightly packed. This will create a foundation for the new screw to grip onto.
Trim Excess Toothpicks
Once the hole is filled, allow the glue to dry for a few hours. Afterward, trim any excess toothpick material protruding from the hole using a utility knife.
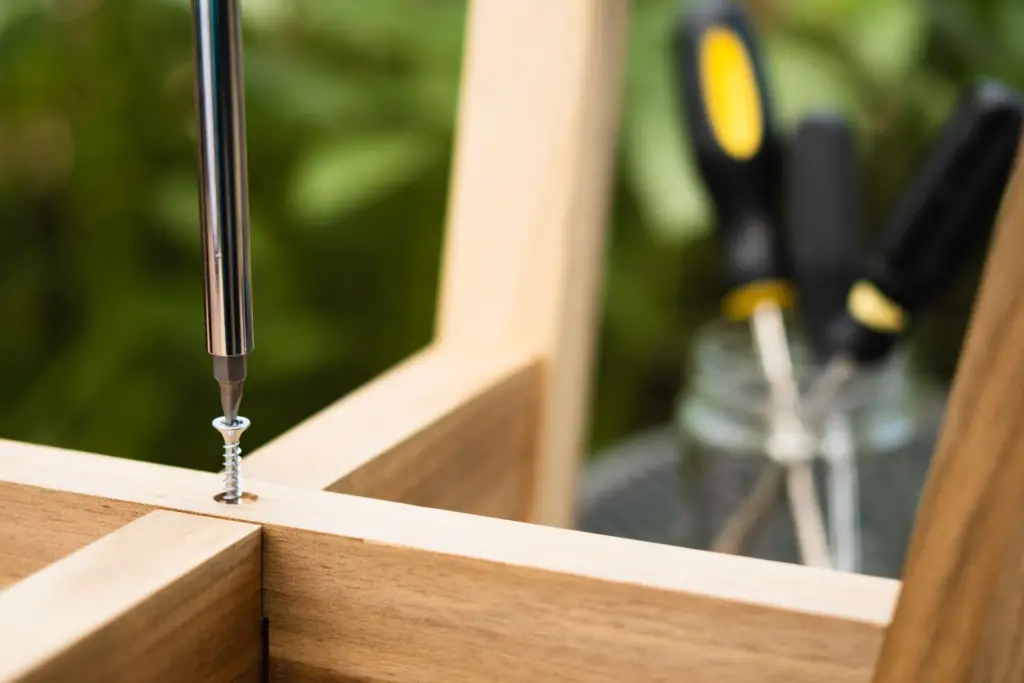
Drill a Pilot Hole
To ensure a secure grip, use a drill bit slightly smaller than the screw’s diameter to create a pilot hole in the repaired area.
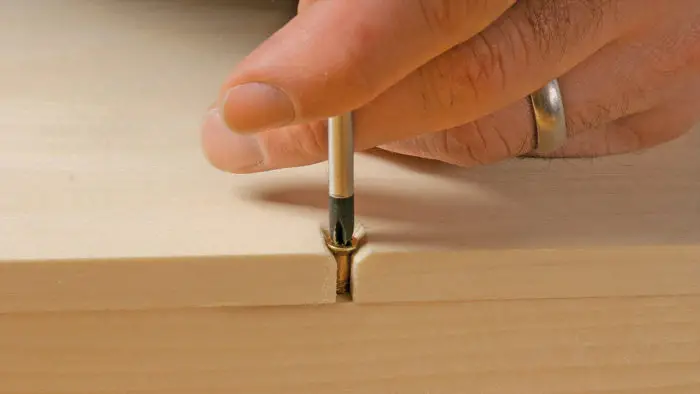
Reinsert the Screw
Gently reinsert the screw into the newly repaired hole. The toothpicks and wood glue should provide a solid anchor for the screw.
Tighten the Screw
Using your screwdriver, carefully tighten the screw until it’s snugly in place. Be cautious not to overtighten, as this can strip the hole again.
Common Mistakes to Avoid
Overusing Wood Filler
- Applying Excessive Filler: One common mistake is using too much wood filler to repair a stripped screw hole. This can create a lumpy and uneven surface that is difficult to work with.
- Filling Unnecessary Areas: Avoid applying wood filler to areas that don’t require repair. It’s essential to focus on the stripped hole itself rather than the surrounding wood.
- Neglecting Drying Time: Rushing the drying process of wood filler can result in a weak bond. Always follow the recommended drying time on the product’s label.
Using the Wrong Screw Size
- Choosing Screws at Random: Selecting screws without considering their size and compatibility with the wood can lead to further damage. Always ensure the chosen screw size matches the hole and wood type.
- Ignoring Pilot Holes: Failing to create pilot holes when using larger screws can cause the wood to split. Always drill pilot holes to prevent this issue.
- Using Screws with Incompatible Threads: Using screws with threads that don’t match the original hole can result in difficulty and damage during installation. Make sure the threads match for a secure fit.
Rushing the Repair Process
- Skipping Preparation Steps: Neglecting to remove loose screws, clean the area, or assess the damage can lead to an ineffective repair.
- Not Allowing Glue to Dry: Impatience can cause you to reinsert screws before the wood glue has fully dried, weakening the bond. Follow the recommended drying time.
- Inadequate Sanding: Skipping sanding can leave a rough and unsightly finish. Take the time to sand the repaired area until it’s smooth and even.
- Reattaching Hardware Too Soon: Before reattaching hardware, ensure that all repair materials have dried and settled properly to avoid compromising the repair.
By avoiding these common mistakes, you can successfully fix a stripped screw hole in a wood cabinet and ensure a durable and aesthetically pleasing repair.
Test the Cabinet
Once the screw is securely in place, test the cabinet by gently applying pressure. Ensure it feels sturdy and doesn’t wobble.
Finish and Protect
If you desire, you can use a wood filler to conceal the repaired area. Sand it down to make it smooth, and finish it with a wood stain or paint to match the cabinet’s finish.
Frequently Asked Questions
How long does it take to fix a stripped screw hole in a wood cabinet?
The repair process typically takes a few hours, including drying time for the wood glue.
Can I use any type of wood glue for this repair?
It’s recommended to use high-quality wood glue to ensure a strong bond.
What should I do if the screw keeps turning without gripping?
If the screw doesn’t grip, you may need to use additional toothpicks and wood glue to build up the hole further.
Is it necessary to repaint or stain the cabinet after the repair?
It’s not mandatory, but it’s a good idea to maintain the cabinet’s appearance and protect the repaired area.
Can I use this method for stripped screw holes in other wooden furniture?
Yes, this method is suitable for repairing stripped screw holes in various wooden furniture pieces.
Are there any preventive measures to avoid stripped screw holes?
To prevent stripped screw holes, ensure you’re using the correct size and type of screw for your cabinet, and avoid overtightening.
Conclusion
Repairing a stripped screw hole in a wood cabinet may seem like a daunting task, but with the right tools and techniques, it can be a straightforward DIY project. By following the steps outlined in this guide, you can restore the stability and functionality of your cabinet with ease. Remember to assess the damage, gather your tools, and take your time to ensure a secure and lasting repair. With a little effort, your wood cabinet will look as good as new, and you’ll have the satisfaction of a job well done.
