
When it comes to maintaining your metal roof, one common issue that often arises is dealing with screw holes. Over time, these holes can lead to leaks and other structural problems if left unaddressed. In this comprehensive guide, we will walk you through the step-by-step process of how to patch screw holes in metal roofs. Whether you’re a DIY enthusiast or a homeowner looking to tackle this task, we’ve got you covered.
Why Are Screw Holes a Concern?

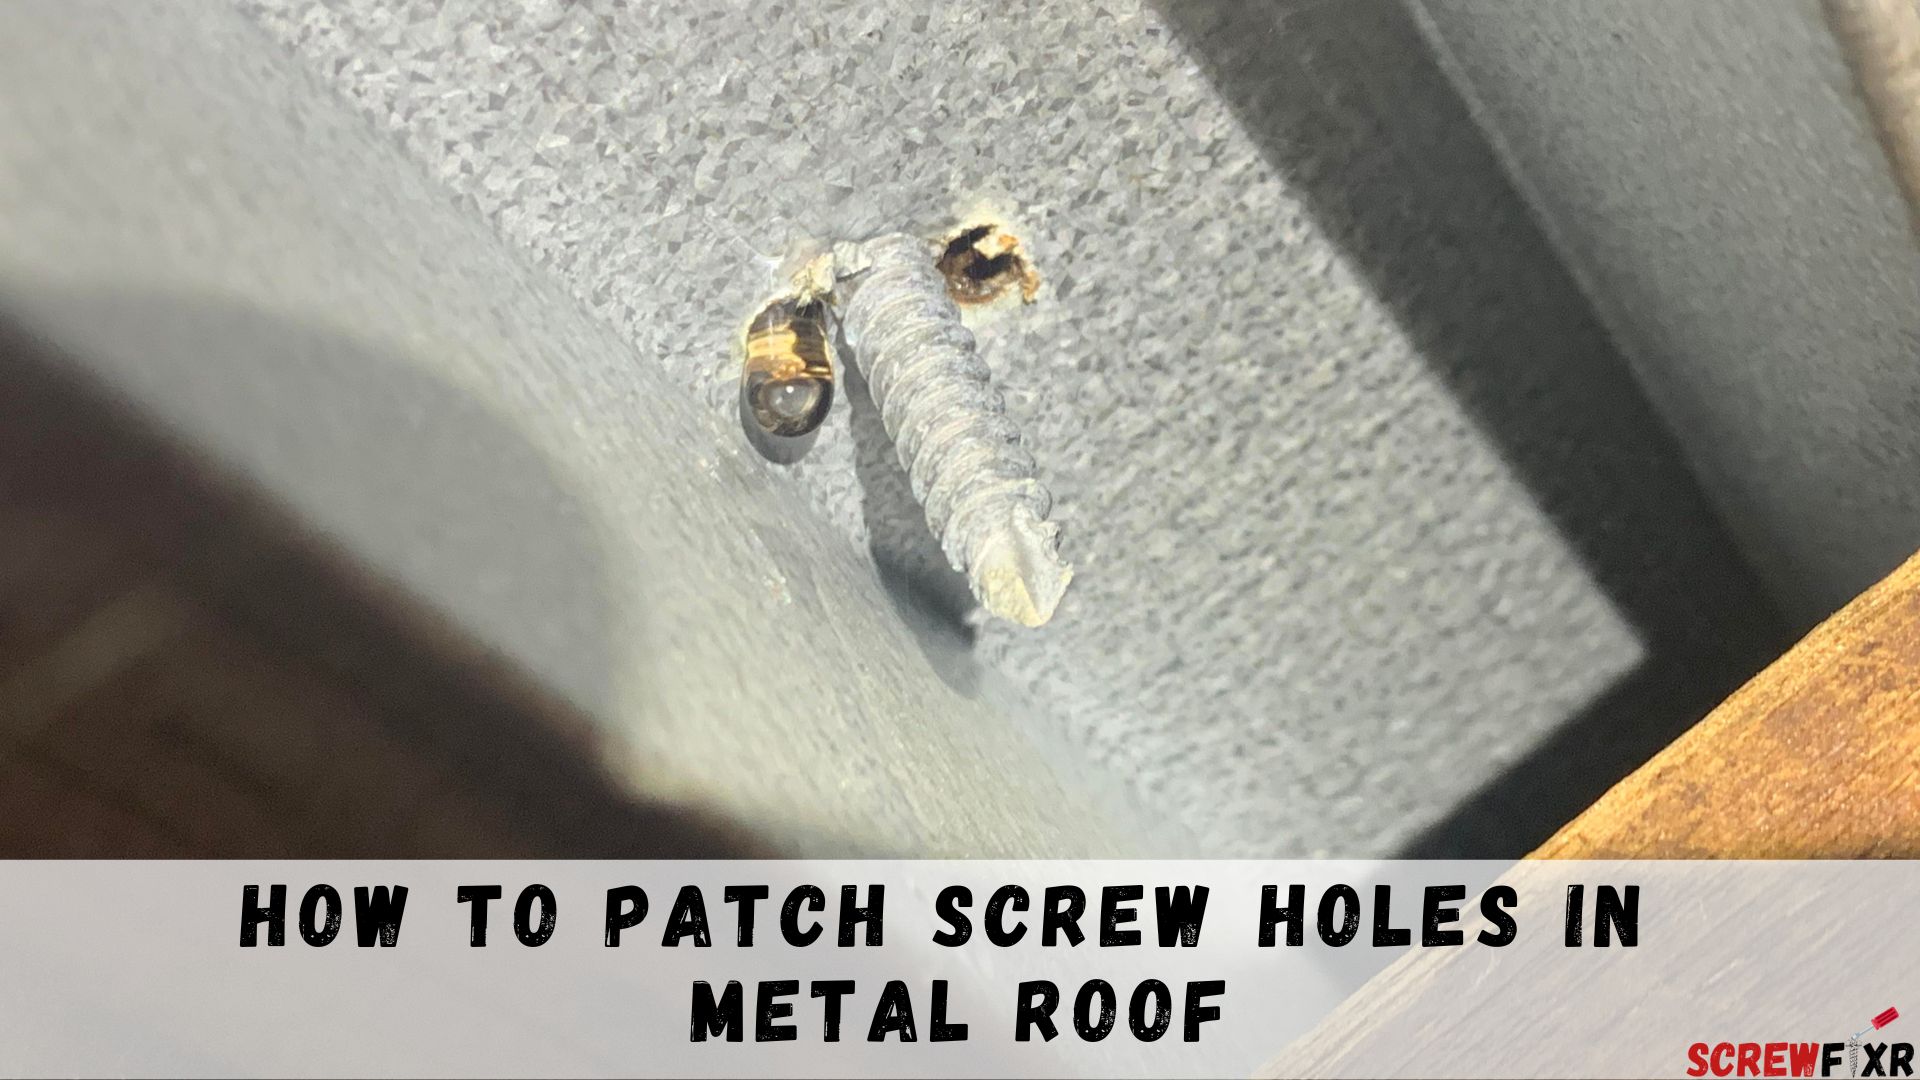
Before we delve into the solution, it’s essential to understand why screw holes in a metal roof can be problematic. These holes are typically created during the installation of the roof or when accessories like solar panels or antennas are mounted. Over time, several issues can arise:
- Water Infiltration: Screw holes can become entry points for rainwater, leading to leaks and water damage inside your home.
- Rust and Corrosion: Exposed screw holes are susceptible to rust, which can weaken the roof’s integrity and compromise its lifespan.
- Aesthetics: Unattractive screw holes can diminish the visual appeal of your residence, impacting its exterior charm.
Tools and Materials You’ll Need
Before you start patching those screw holes, gather the following tools and materials:
Tools:
- Screwdriver or drill
- Metal patching compound
- Putty knife
- Wire brush
- Safety gloves
- Safety goggles
- Ladder
Materials:
- Metal patches
- Roofing screws
- Primer
- Roofing paint (matching your roof’s color)
How to Patch Screw Holes in Metal Roof – Step-by-Step Guide
Now, let’s get into the nitty-gritty of patching screw holes in your metal roof:
Step 1: Safety First
Before you begin any roofing project, prioritize safety. Wear safety gloves and goggles to protect yourself from debris and sharp edges. Make sure your ladder is stable and placed on a flat surface.
Step 2: Remove Loose Debris
Use a wire brush to clean the area around the screw hole. Remove any loose debris, rust, or old sealant. This will ensure a clean surface for the patch.
Step 3: Apply Primer
Apply a metal primer to the cleaned area around the screw hole. This helps the patch adhere better and prevents future rusting.
Step 4: Patch the Hole
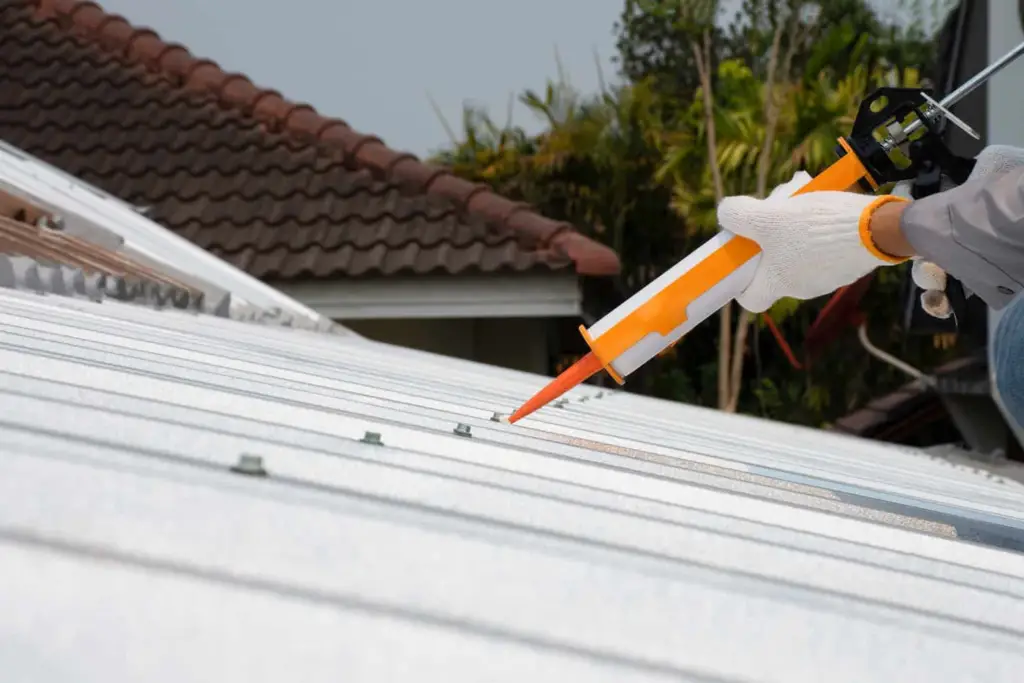
Using a putty knife, apply a generous amount of metal patching compound over the screw hole. Press it firmly to ensure a tight seal. If the hole is large, you may need to use a metal patch to cover it completely.
Step 5: Seal with Roofing Screws
Secure the metal patch in place with roofing screws. Make sure they are tightly fastened to prevent any future movement or leaks.
Step 6: Smooth and Paint
Once the patch is secure, use the putty knife to smooth out the patching compound. Allow it to dry according to the manufacturer’s instructions. After drying, paint the patched area with roofing paint that matches your roof’s color to maintain aesthetics.
Step 7: Inspect and Maintain
Regularly inspect your patched screw holes to ensure they remain secure. If you notice any issues, repeat the patching process as needed.
Maintenance Tips
Regular Roof Inspections
Regular roof inspections are the cornerstone of effective metal roof maintenance. By scheduling periodic inspections, you can identify potential issues before they escalate into costly problems. Here’s how to approach this crucial task:
- Frequency: Perform inspections at least twice a year, ideally in the spring and fall. Additional checks after extreme weather events are advisable.
- Safety First: Prioritize safety when inspecting your roof. Use appropriate personal protective equipment (PPE) and consider hiring a professional for high or steep roofs.
- Check for Damage: Examine the entire roof surface for signs of damage, including loose screws, popped-up panels, and surface rust.
- Inspect Sealants: Pay close attention to sealant integrity around screw holes and seams. Look for cracks, gaps, or signs of deterioration.
- Gutter Inspection: Clean and inspect gutters and downspouts during roof inspections. Clogged gutters can lead to water overflow, potentially causing roof damage.
- Flashing and Ventilation: Check roof flashings, vents, and chimneys for damage or signs of wear. Proper flashing is essential for preventing water infiltration.
- Document Findings: Maintain a record of your inspections, including photographs and notes. This documentation can help track changes over time.
Cleaning and Preventive Measures
Keeping your metal roof clean and implementing preventive measures can extend its lifespan and reduce the need for repairs. Follow these guidelines:
- Debris Removal: Regularly remove leaves, branches, and debris from the roof’s surface. Accumulated debris can trap moisture and lead to corrosion.
- Moss and Algae Control: If your area is prone to moss or algae growth, consider using specialized treatments to prevent infestations.
- Paint and Coating Maintenance: If your metal roof has a painted or coated finish, inspect it for chipping or peeling. Touch up or recoat as needed to protect against rust.
- Trim Overhanging Branches: Overhanging branches can scratch and damage the roof. Trim them back to prevent contact with the metal surface.
- Snow Removal: In snowy regions, remove snow buildup to prevent excess weight on the roof, which can lead to structural issues.
- Bird and Pest Control: Address bird nesting and pest infestations promptly to prevent damage and keep your roof clean.
- Proper Drainage: Ensure that water drains efficiently from the roof. Poor drainage can lead to ponding and rust formation.
Frequently Asked Questions

How long does it take for the patching compound to dry?
The drying time can vary depending on the product, but it typically takes 24 to 48 hours for the compound to fully cure.
Can I paint the patched area with any color I like?
While you can technically use any color, it’s recommended to use roofing paint that matches your roof’s color for a seamless look.
Do I need to patch all screw holes, or just the ones causing problems?
It’s a good practice to patch all screw holes to prevent potential issues. However, prioritize the ones that show signs of leakage or rust.
Can I patch screw holes in a metal roof during rainy weather?
It’s best to wait for a dry day to ensure the patching compound and paint adhere properly.
What if I’m not comfortable doing this myself?
If you’re unsure about the process or have concerns, it’s advisable to consult a professional roofing contractor for assistance.
Conclusion
Patching screw holes in your metal roof is a manageable task that can prevent significant issues down the line. By following these steps, you can protect your home from water damage, and rust, and maintain its overall appearance. Remember always to prioritize safety and conduct regular inspections to keep your metal roof in top condition.
