
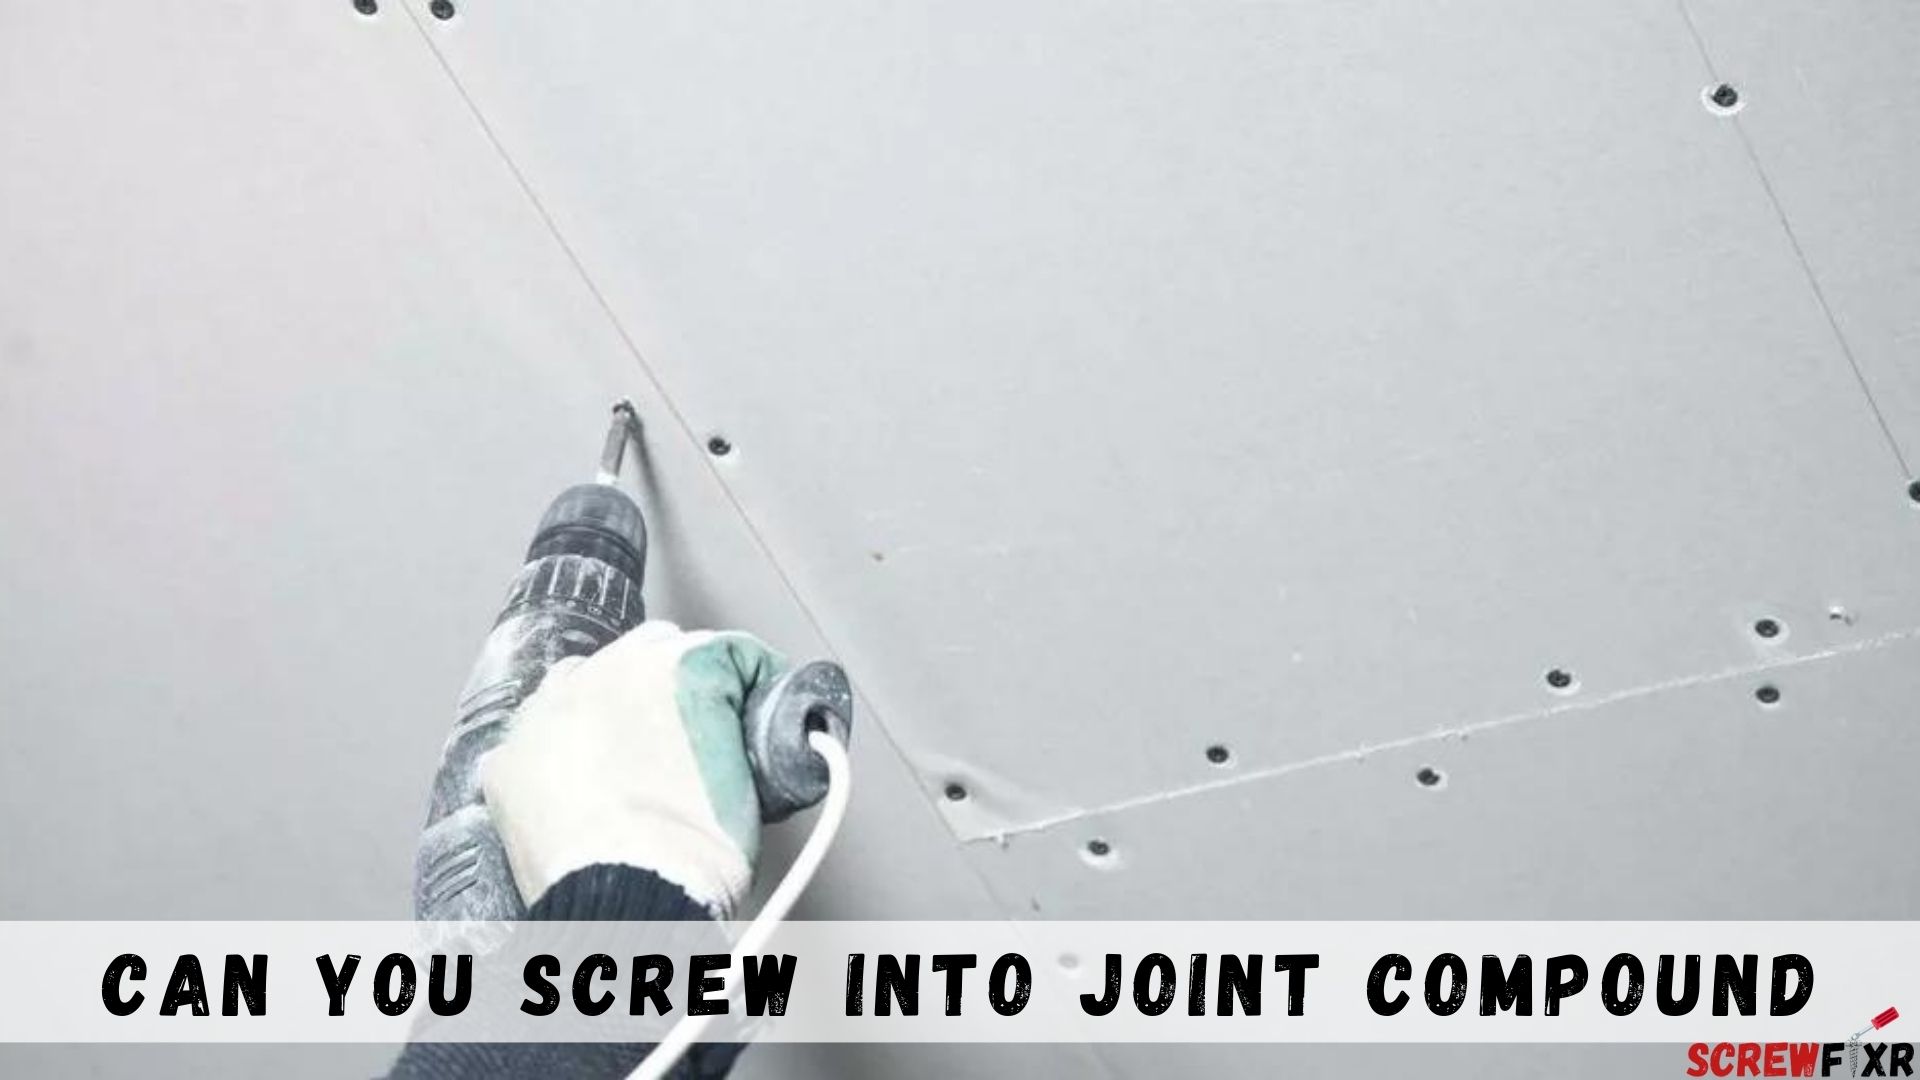
In the world of DIY home improvements and repairs, there often arises the need to attach objects to walls and ceilings. Whether it’s hanging a painting, or a shelf, or installing fixtures, knowing the right way to do it is essential. But can you screw into joint compound? Is it a viable option or a recipe for disaster? In this article, we’ll explore this intriguing topic, providing you with insights and guidance to tackle your next home project confidently.
Understanding Joint Compound
What Is Joint Compound?
Joint compound, also commonly known as “drywall mud,” is a crucial material in the realm of home improvement and construction. It is a versatile substance used primarily for finishing drywall surfaces and creating seamless and smooth walls and ceilings. But what exactly is joint compound, and how does it work?
Types of Joint Compound
When it comes to joint compound, there are two primary types to consider, each with its unique properties and applications:
- Setting-Type Joint Compound
Setting-type joint compound, often referred to as “hot mud,” is a fast-drying option. It typically comes in powdered form and requires mixing with water before application. It sets, or hardens, through a chemical reaction, making it an excellent choice for quick repairs and smaller projects.
- Ready-Mix Joint Compound
Ready-mix joint compound, as the name suggests, comes pre-mixed and ready for use straight from the container. It is the more convenient option for most DIY projects and is available in various formulations, such as lightweight or all-purpose. This type is suitable for both taping and finishing drywall seams.
The Role of Joint Compound in Drywall Installation
Understanding the role of joint compound is essential, especially in the context of drywall installation. Joint compound serves several critical functions:
- Seam Covering: It is applied to cover and smooth out seams and joints between sheets of drywall, ensuring a seamless surface.
- Repair: A joint compound is used to repair any imperfections or damage on the drywall’s surface, including dents, dings, and holes.
- Texture: It can be textured to match the surrounding wall or ceiling, providing a consistent appearance.
- Priming: Some joint compounds have primer mixed in, which aids in the painting process and enhances the durability of the finish.
In the next sections, we will explore whether it is possible to screw directly into joint compound and the considerations and consequences associated with this practice.
Can You Screw Into Joint Compound?
The Common Misconception
Before delving into the practical aspects of screwing into joint compound, let’s address a prevailing misconception. Many individuals mistakenly believe that joint compound alone can provide a sturdy anchor for screws. This notion stems from the compound’s pliable and somewhat adhesive nature. However, the reality is more nuanced, and several factors must be considered.
Factors to Consider
When contemplating whether it’s feasible to screw into joint compound, several critical factors come into play:
- Thickness of Joint Compound
The thickness of the applied joint compound is a pivotal factor. Thicker layers may provide more support, but there are limits to how much weight joint compound can bear.
- Screw Length and Type
The type and length of the screws you use are crucial. Longer screws may penetrate the underlying drywall and wall studs, providing more stability. The type of screw is also important, as certain screws are designed specifically for drywall applications.
- Wall Material
The type of wall you’re working with matters. Drywall, which is the most common interior wall material, behaves differently than other materials like plaster or wood paneling. Understanding the wall’s composition is vital to determine if screwing into joint compound is appropriate.
Possible Consequences
Screwing directly into joint compound without considering these factors can lead to various adverse consequences:
- Wall Damage
Excessive weight or inadequate support may cause the joint compound to crack, crumble, or separate from the drywall. This results in unsightly wall damage that requires repair.
- Unstable Mounting
Inadequate support can lead to unstable mounting. Your mounted object may wobble or become dislodged over time, posing risks to both the object and anyone nearby.
- Safety Hazards
In extreme cases, mounting on joint compound alone can create safety hazards. Heavy objects falling off the wall can cause injuries or damage to your property.
In the following sections, we will explore how to prepare your wall properly for mounting, alternative mounting methods, and frequently asked questions related to this topic to help you make informed decisions and ensure secure wall mounting.
Preparing Your Wall for Mounting
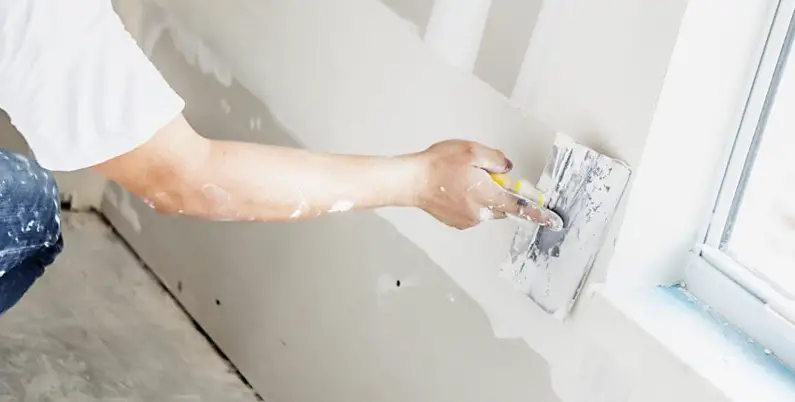
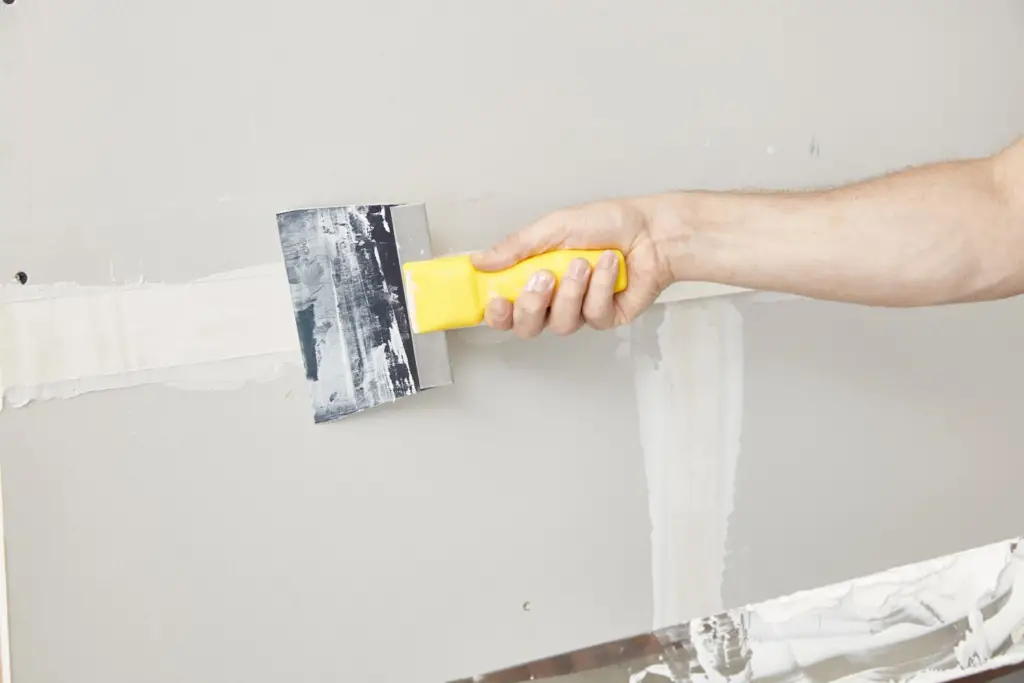
Properly Applying Joint Compound
To ensure a secure and stable mounting surface, it’s crucial to apply joint compound correctly:
- Clean Surface: Begin with a clean, drywall surface free of dust and debris.
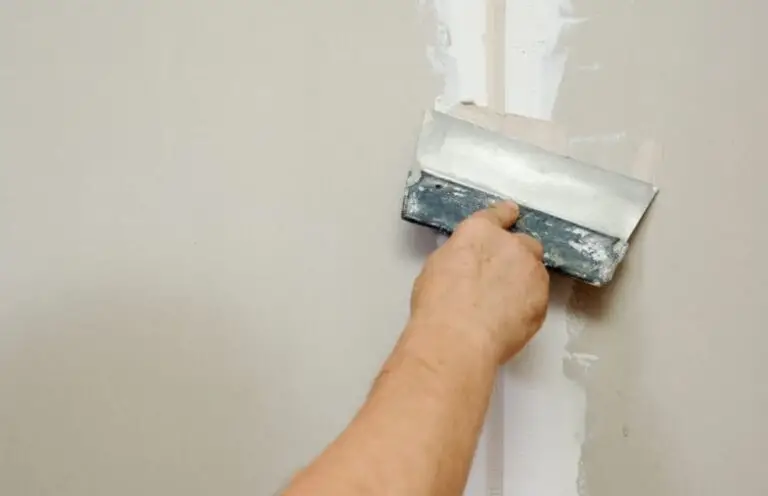
- Apply Evenly: Apply joint compound evenly and smoothly, especially if you’re patching or covering seams. Multiple thin coats are better than one thick layer.
- Feathering: Feather the edges of the joint compound to create a gradual transition from the compound to the surrounding drywall, reducing the risk of visible seams.
- Drying Time: Allow the joint compound to dry completely between coats. Follow the manufacturer’s recommendations for drying times.
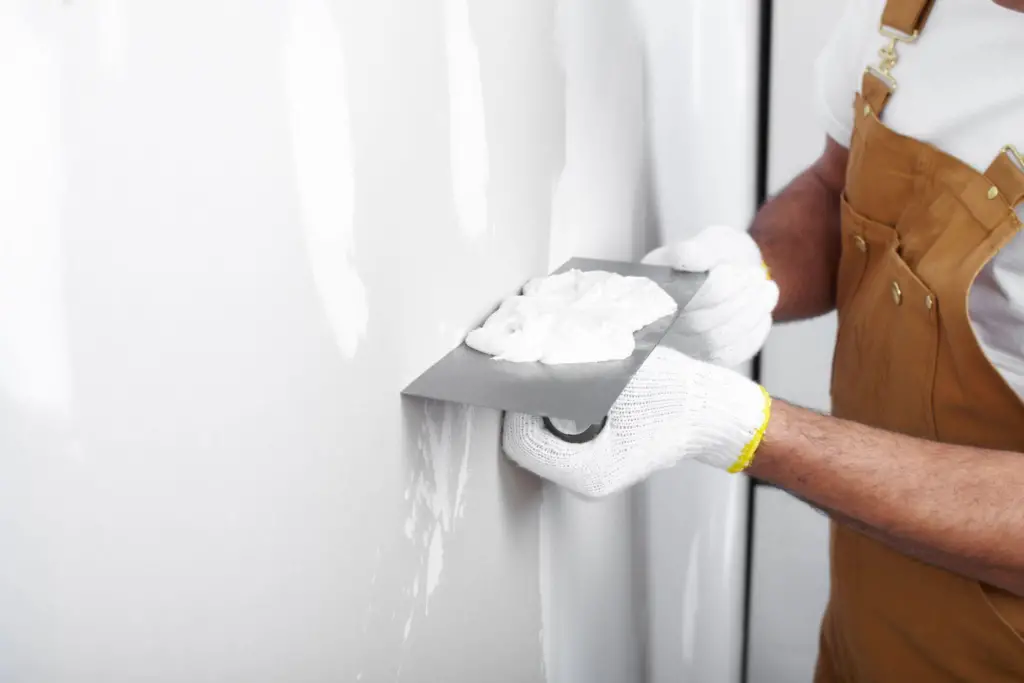
Sanding and Smoothing
After applying joint compound, sanding and smoothing the surface is essential for a seamless finish:
- Use Fine Grit Sandpaper: Choose fine-grit sandpaper (around 120 to 150 grit) to avoid damaging the drywall or joint compound.
- Sand Lightly: Sand the compound lightly in a circular motion to smooth out imperfections. Avoid excessive pressure, as this can create divots.
- Inspect the Surface: Examine the surface for any remaining imperfections, and repeat the joint compound and sanding process as needed until the surface is smooth and uniform.
Creating Anchor Points
Before mounting any objects, consider creating anchor points:
- Wall Anchors: For heavier objects, use wall anchors designed to support the anticipated weight. Follow the manufacturer’s instructions for installation.
- Toggle Bolts: Toggle bolts are suitable for mounting on drywall but require drilling larger holes. They provide sturdy support for heavy items.
- Mounting Brackets: Install mounting brackets or cleats for larger objects like shelves or cabinets. These distribute the weight evenly across the wall.
Finding Wall Studs
Locating wall studs is essential for secure mounting:
- Stud Finder: Invest in a stud finder tool, which helps identify the exact location of wall studs. Follow the instructions provided with the stud finder.
- Knocking: You can also use a knocking technique to detect studs. Tap the wall lightly and listen for changes in sound. A hollow sound indicates no stud, while a solid, less resonant sound suggests a stud.
- Measuring: Studs are typically spaced either 16 or 24 inches apart, so you can measure from a known corner or outlet to estimate stud positions.
By properly applying joint compound, smoothing the surface, creating secure anchor points, and locating wall studs, you’ll ensure a strong foundation for your wall mounting projects. In the following section, we’ll explore alternative mounting methods for situations where screwing into joint compound may not be the best option.
Alternative Mounting Methods
When it comes to wall mounting, there are alternative methods to consider, depending on your specific needs and circumstances:
Using Wall Anchors
Wall anchors are a reliable option, especially when you can’t screw directly into wall studs. Here’s how to use them effectively:
- Types of Wall Anchors: There are various types of wall anchors available, including toggle bolts, expansion anchors, and plastic anchors. Choose the type that suits your project’s weight and requirements.
- Installation: Drill a hole in the wall according to the anchor’s specifications, insert the anchor, and tighten it. Once secured, you can screw into the anchor, providing a stable mounting point.
- Weight Consideration: Be mindful of the anchor’s weight capacity. It’s essential not to exceed this limit to maintain a secure mount.
Mounting on Wall Studs
Mounting on wall studs offers the utmost stability, making it suitable for heavier items. Here’s how to go about it:
- Locating Wall Studs: Use a stud finder or the knocking and measuring techniques mentioned earlier to find and mark the positions of wall studs.
- Screw Placement: Position your screws or mounting hardware directly into the wall studs. This ensures a robust and secure attachment.
- Distribution of Weight: Mounting on wall studs distributes the weight evenly, reducing the risk of damage or instability.
Mounting on Drywall
Mounting directly onto drywall can be suitable for lighter items, but it requires specific considerations:
- Wall Anchors: Use wall anchors designed for drywall applications, following the manufacturer’s guidelines for weight capacity.
- Number of Anchors: Distribute the mounting hardware evenly to prevent wall damage and ensure stability.
- Proper Installation: Ensure that the anchors are installed securely, and test the mount’s stability before hanging your object.
Selecting the appropriate mounting method depends on the weight of the object, the type of wall you have, and your overall aesthetic preferences. In the next section, we will address frequently asked questions to provide further clarity on the subject of screwing into joint compound and wall mounting in general.
Frequently Asked Questions
Can I use joint compound as an alternative to wall anchors?
Yes, you can use joint compound as an alternative to wall anchors for lightweight items like picture frames. However, for heavier objects, it’s recommended to use proper wall anchors.
Is it possible to screw into joint compound without pre-drilling?
While it’s possible, it’s not advisable. Pre-drilling helps prevent damage to the joint compound and ensures a more secure hold for the screw.
Can I use regular screws instead of drywall screws with joint compound?
It’s best to use drywall screws, as they are designed for this purpose and provide a stronger grip in the joint compound.
How can I repair a screw hole in joint compound?
To repair a screw hole, apply a small amount of joint compound, let it dry, sand it smooth, and repaint the area.
Can I hang heavy objects on walls with joint compound?
No, joint compound is not suitable for hanging heavy objects. For heavy items, always use wall anchors or locate a wall stud for secure support.
Is joint compound suitable for outdoor applications?
No, joint compound is not designed for outdoor use and should only be used indoors.
Conclusion
You can screw into joint compound, but it’s crucial to follow the proper guidelines to ensure a secure and aesthetically pleasing result. Always use the right anchors or screws designed for drywall, pre-drill when necessary, and be cautious about the weight and location of the objects you’re attaching. By doing so, you’ll achieve the desired outcome without compromising the integrity of the joint compound.
