
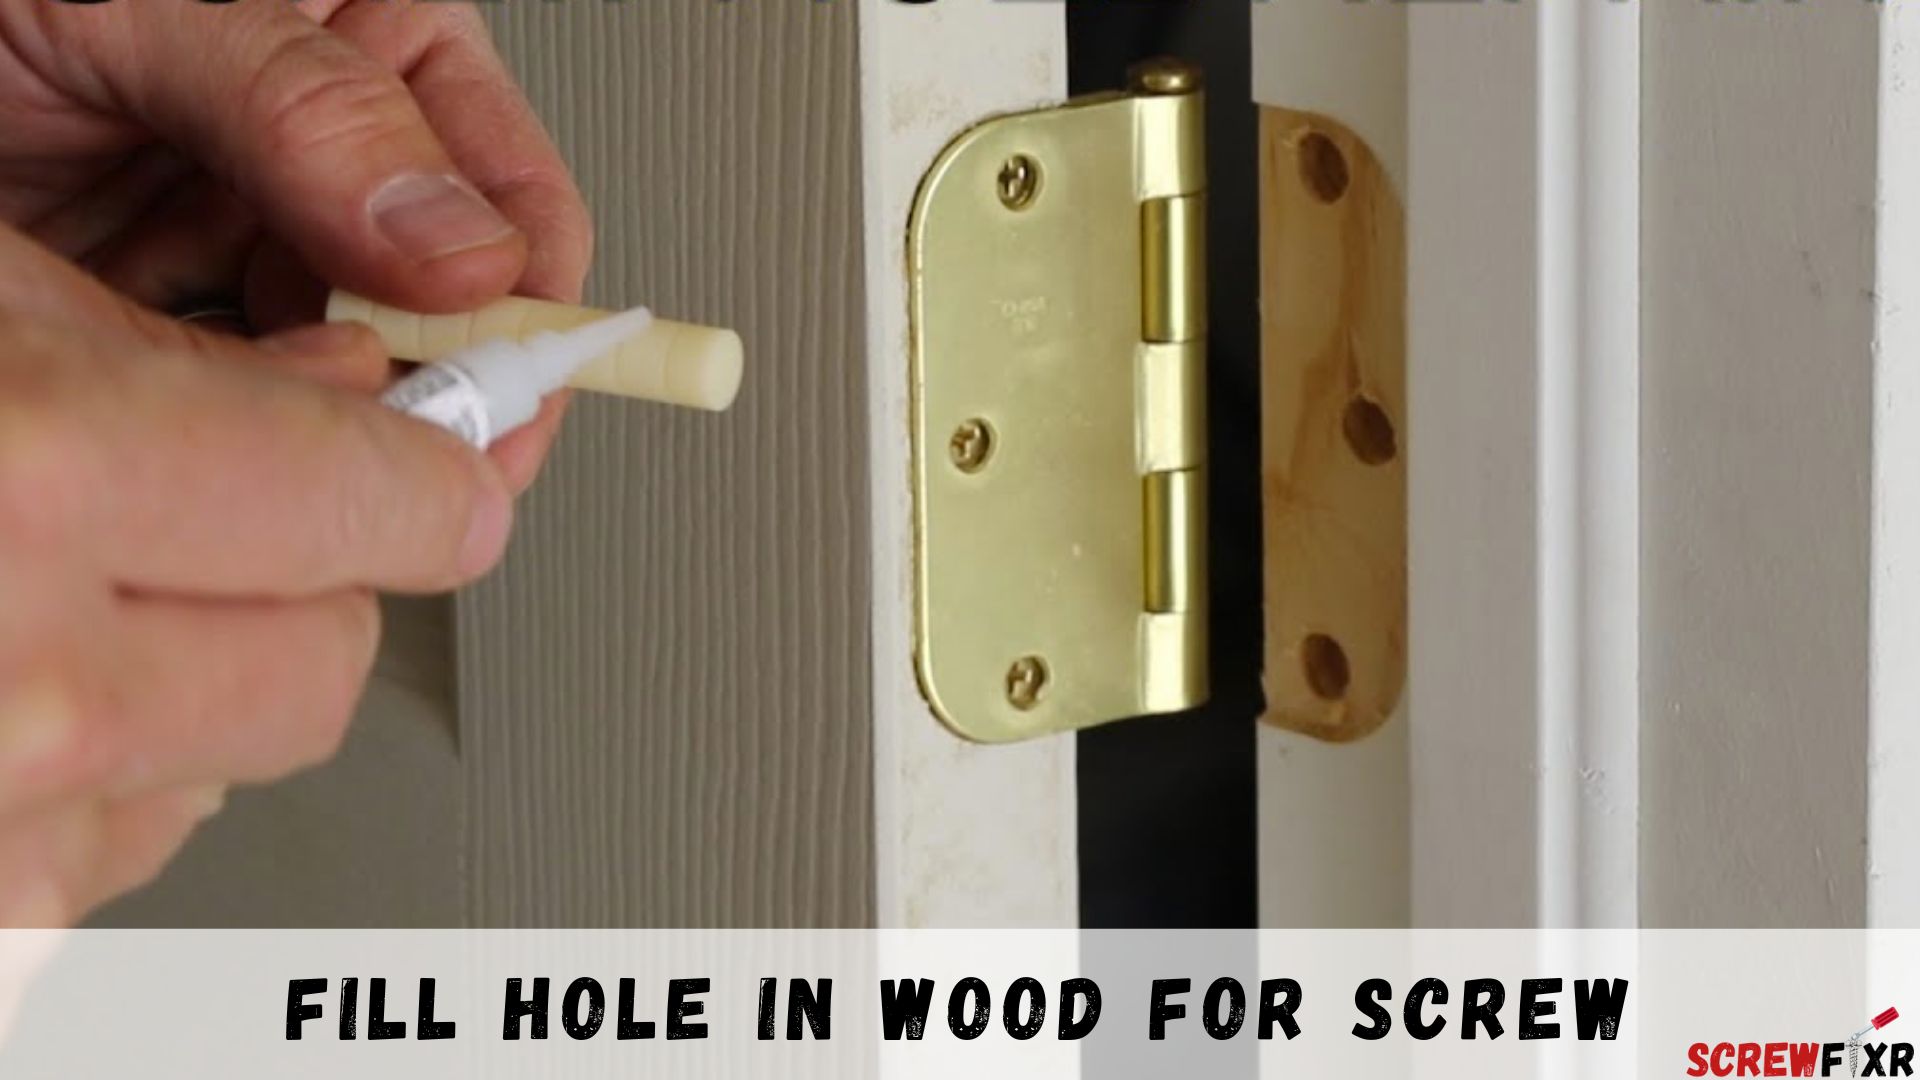
Woodworking enthusiasts and DIYers often encounter the need to securely attach screws to wood. However, achieving a strong and reliable hold can be challenging if the wood has imperfections, cracks, or existing holes. In this detailed guide, we will explore various techniques and tips on how to fill hole in wood for screw effectively. Whether you’re a seasoned woodworker or just starting, this article will equip you with the knowledge and skills necessary to tackle this common woodworking challenge.
Understanding Wood Types

Wood comes in various types, each with its characteristics that influence hole-filling techniques. To become proficient at filling holes in wood, it’s crucial to grasp the distinctions between these wood types and their suitability for the task. We’ll explore three primary categories: softwoods, hardwoods, and engineered woods.
- Softwoods
- Characteristics: Softwoods are derived from coniferous trees like pine, cedar, and fir. They are known for their lightweight, straight grain, and easy workability. Softwoods are readily available and affordable.
- Suitability for Hole Filling: Softwoods are relatively soft and porous, making them ideal candidates for hole filling. They are forgiving when it comes to accepting wood filler, and it’s easier to achieve a seamless finish.
- Hardwoods
- Characteristics: Hardwoods, such as oak, maple, and cherry, originate from deciduous trees. They are dense, durable, and feature intricate grain patterns. Hardwoods are prized for their strength and attractive appearance.
- Suitability for Hole Filling: Filling holes in hardwoods can be more challenging due to their density and hardness. However, with the right techniques and fillers, it’s still possible to achieve excellent results. Wood putty or epoxy is often preferred for hardwoods due to their durability.
- Engineered Woods
- Characteristics: Engineered woods like plywood, MDF (Medium-Density Fiberboard), and particleboard are manufactured by bonding wood fibers or veneers together. They offer a balance between affordability and versatility.
- Suitability for Hole Filling: Engineered woods vary in density and composition. Plywood, for example, is easier to work with and fill compared to MDF, which has a denser core. The choice of filler depends on the specific type of engineered wood and the project’s requirements.
Fill Hole in Wood for Screw

Tools and Materials for Filling Holes in Wood
Filling holes in wood for screws requires specific tools and materials to ensure a successful and safe outcome. Here is a list of essential items you’ll need, along with the importance of safety equipment:
Tools:
- Screwdriver or Drill: Used to remove or insert screws in the wood.
- Chisel: For cleaning and shaping the hole, especially when using wooden plugs.
- Putty Knife or Spatula: Essential for applying wood filler smoothly and evenly.
- Sandpaper: Various grits (from coarse to fine) for sanding the filled area and achieving a seamless finish.
- Clamps: Useful for holding wood pieces together while the filler dries, ensuring a secure bond.
- Hammer and Nail Set (for Wooden Plugs): Required for setting wooden plugs flush with the wood surface.
- Saw (for Wooden Plugs): To trim wooden plugs if they protrude above the wood surface.
Materials:
- Wood Filler: Depending on your project and wood type, choose between wood putty, epoxy, or wooden plugs. Ensure it matches the color and grain of the wood.
- Safety Equipment: Safety should always be a priority when working with wood fillers. This includes:
- Safety Glasses: Protect your eyes from dust and debris generated during sanding and filling.
- Dust Mask or Respirator: Prevent inhaling fine wood particles and filler dust.
- Gloves: Keep your hands safe from potential irritants in wood filler or epoxy.
- Ventilation: Work in a well-ventilated area to minimize exposure to fumes from certain fillers, especially epoxy.
Importance of Safety Equipment:
Safety equipment is crucial when working with wood fillers for several reasons:
- Eye Protection: Wood dust, particles, or debris can easily enter your eyes during sanding and filling. Safety glasses protect your eyes from potential injury.
- Respiratory Protection: Sanding and working with fillers generate fine dust that, when inhaled, can be harmful to your respiratory system. A dust mask or respirator filters out these particles, ensuring you breathe clean air.
- Skin Protection: Some wood fillers and epoxies can contain irritants. Wearing gloves safeguards your skin from potential contact with these substances.
- Ventilation: Proper ventilation ensures that any fumes, especially from epoxy or other chemical fillers, are quickly dispersed. This reduces the risk of inhaling harmful vapors.
By wearing the appropriate safety equipment, you not only protect yourself from potential health hazards but also ensure a more comfortable and productive woodworking experience. Always follow safety guidelines and take necessary precautions to enjoy your craft safely.
- Choose the Right Wood Filler
When filling holes in wood, it’s essential to consider the wood type and choose a suitable filler accordingly:
- For Softwoods: Wood putty is an excellent choice for filling holes in softwoods. It’s easy to work with and blends seamlessly. Epoxy can also be used for added strength.
- For Hardwoods: Epoxy is often the preferred filler for hardwoods due to its durability and ability to withstand the density of the wood. Wood putty can be used but may require more effort to achieve a perfect match.
- For Engineered Woods: The choice of filler for engineered woods depends on their density. Less dense options like plywood can be filled with wood putty, while denser options like MDF may benefit from epoxy fillers.
- Clean the Hole
Remove any debris or loose wood particles from the hole using a screwdriver or drill bit. Ensure the hole is clean and dry before proceeding.
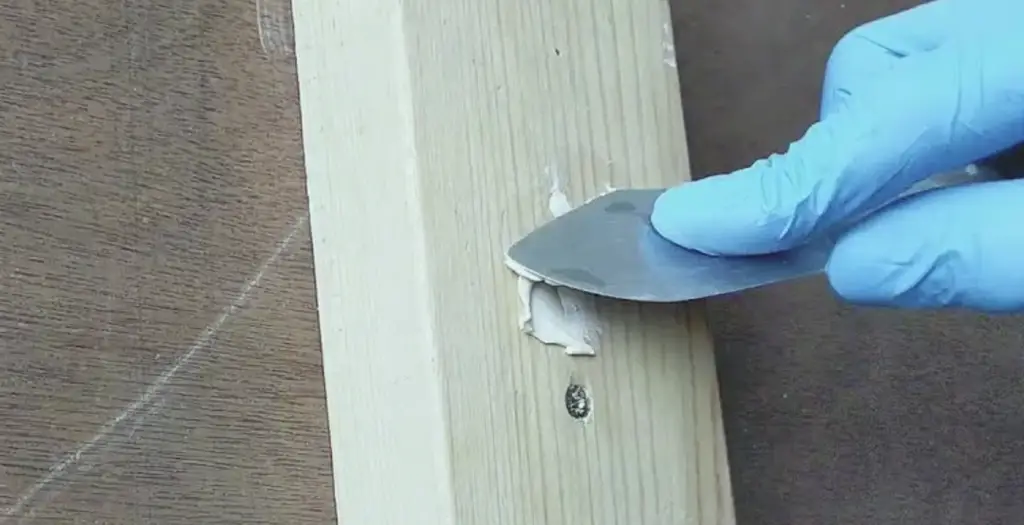
- Apply the Wood Filler
Using a putty knife or your fingers (wearing gloves), press the wood filler into the hole, slightly overfilling it. Smooth the surface, ensuring it’s flush with the wood’s surface.
- Let It Dry
Allow the filler to dry completely. Drying times may vary depending on the product, so follow the manufacturer’s instructions.
- Sand the Surface
Once the filler is dry, use sandpaper to smooth the surface until it’s even with the surrounding wood. Start with coarse grit and gradually move to finer grits for a polished finish.
- Finish as Desired
If needed, apply paint or finish to match the wood’s color and texture. This step ensures a seamless blend with the rest of your project.
Common Mistakes to Avoid When Filling Holes in Wood

Filling holes in wood may seem straightforward, but several common mistakes can compromise the quality and durability of your woodworking projects. Here’s a list of these errors and how to rectify or prevent them:
- Using the Wrong Filler:
- Mistake: Use an unsuitable filler for the type of wood or the size of the hole.
- Solution: Select the appropriate filler based on the wood type and hole size, as discussed in previous sections.
- Neglecting Surface Preparation:
- Mistake: Skipping crucial steps like sanding or cleaning the wood surface before filling holes.
- Solution: Always prepare the wood surface by sanding it smooth and ensuring it’s clean and free from debris. This creates a better bond for the filler.
- Overfilling Holes:
- Mistake: Applying an excessive amount of filler, resulting in uneven and unsightly bulges.
- Solution: Apply filler in thin layers, allowing each layer to dry before adding more if necessary. Sand the excess filler for a smooth finish.
- Underfilling Holes:
- Mistake: Not adequately filling the hole, leaving gaps or recesses in the surface.
- Solution: Fill the hole slightly above the surface to account for any shrinkage as the filler dries. Sand it flush once fully cured.
- Inadequate Mixing (for Epoxy):
- Mistake: Improperly mixing epoxy resin and hardener, leading to incomplete curing.
- Solution: Follow the manufacturer’s instructions for the correct mixing ratio and ensure thorough mixing for a strong bond.
- Rushing the Drying Process:
- Mistake: Proceed with sanding or finishing before the filler has fully dried.
- Solution: Allow the filler adequate time to dry as per the manufacturer’s recommendations. Rushing can lead to a less durable result.
- Neglecting Grain Direction:
- Mistake: Filling holes in a manner that doesn’t align with the wood grain, resulting in an unnatural appearance.
- Solution: Apply the filler in a way that mimics the wood grain pattern for a seamless look.
- Skipping Sanding and Smoothing:
- Mistake: Neglecting to sand and smooth the filled area, leaving a rough or uneven finish.
- Solution: After the filler has dried, sand it down carefully to achieve a flush and polished surface that blends with the wood.
- Using the Wrong Sandpaper Grit:
- Mistake: Choosing the wrong sandpaper grit for the sanding process, can cause damage or an unsatisfactory finish.
- Solution: Use progressively finer grits, starting with coarse grits for shaping and finishing with finer grits for a smooth surface.
- Neglecting Staining or Painting:
- Mistake: Not matching the filled area with the surrounding wood finish.
- Solution: Stain or paint the filled area to match the surrounding wood, ensuring a consistent appearance.
By avoiding these common mistakes and following best practices for hole filling in wood, you can enhance the structural integrity and visual appeal of your woodworking projects. Proper preparation, careful application, and attention to detail are key to achieving professional results.
Frequently Asked Questions
How long does wood filler take to dry?
The drying time varies depending on the brand and type of wood filler you use. It can range from a few hours to 24 hours or more. Always check the product’s label for specific drying instructions.
Can I stain wood filler?
Yes, you can stain wood filler to match the color of your wood. Be sure to use a stainable wood filler and follow the staining instructions carefully for the best results.
What if the hole is too large for wood filler?
If the hole is too large, consider using wooden dowels or plugs in addition to wood filler for added stability. Follow the same steps for filling the hole but insert the dowels before applying filler.
Should I sand between coats of wood filler?
Yes, sanding between coats of wood filler helps achieve a smooth and even surface. It also improves the adhesion of subsequent layers of filler.
Can I use wood filler for outdoor projects?
Some wood fillers are designed for outdoor use and are resistant to moisture and weather. Check the product label to ensure it’s suitable for your specific project.
What is the difference between wood putty and wood filler?
Wood putty is typically used for smaller repairs and is more pliable. Wood filler is thicker and better suited for larger holes and structural repairs.
Conclusion
Mastering the art of filling holes in wood for screws is a valuable skill for any woodworker or DIY enthusiast. By following the steps outlined in this guide and keeping these essential tips in mind, you’ll achieve professional-looking results every time. Remember that proper preparation, quality materials, and attention to detail are the keys to success in woodworking.
