
When it comes to DIY home improvement projects, there’s often a need to hang items on your walls securely. However, if your walls have imperfections or are made of materials that can’t hold screws well, you may wonder, “Can you put screws in wall filler?” In this guide, we’ll explore the intricacies of this common DIY dilemma, offering insights, tips, and answers to frequently asked questions.
What is Wall Filler?
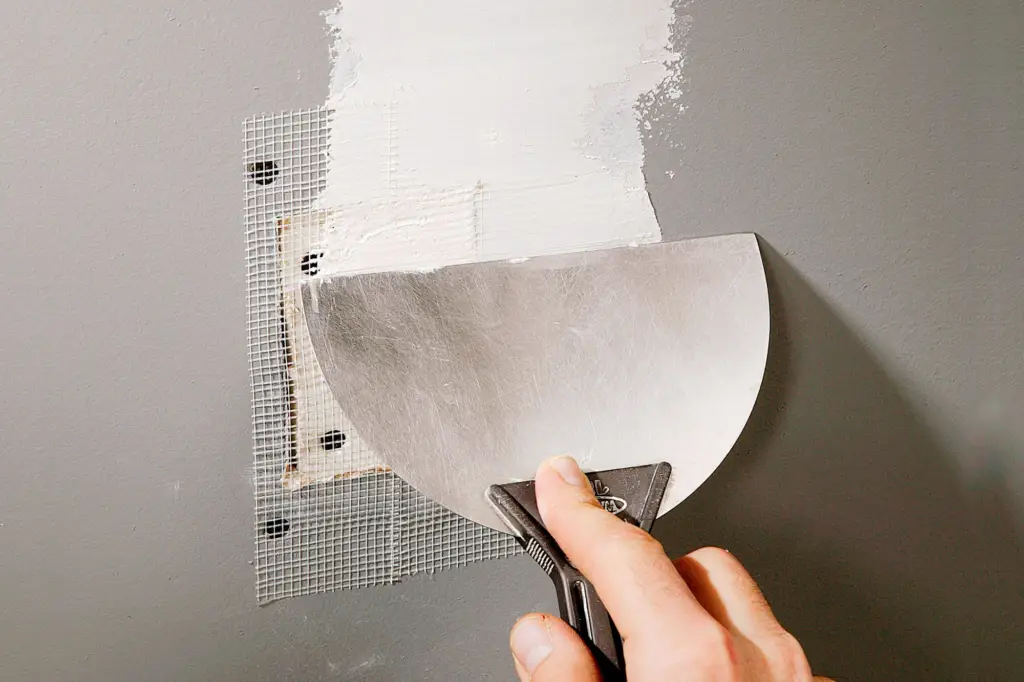
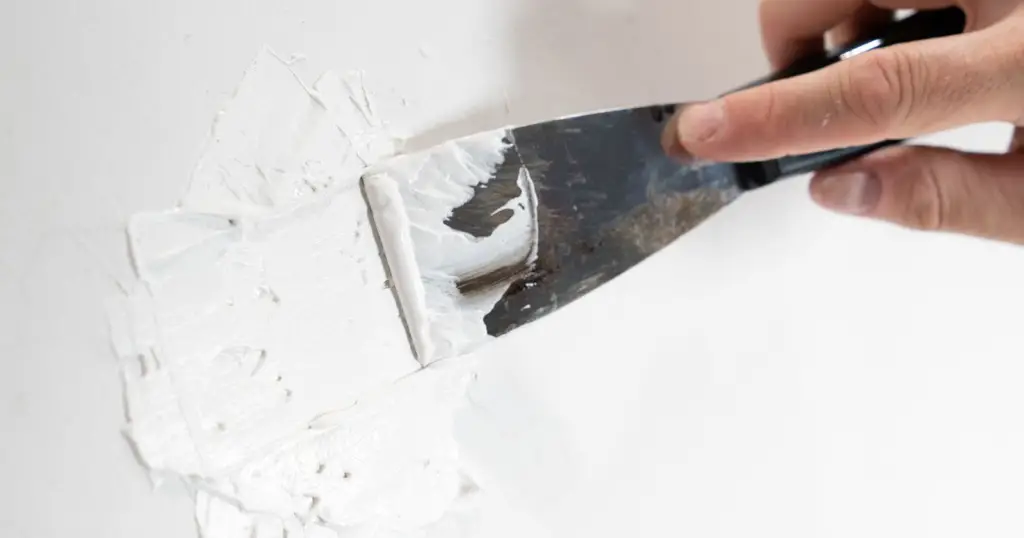
Wall filler, also known as spackling paste, joint compound, or patching plaster, is a versatile material used in interior design and home improvement projects. It serves the primary purpose of preparing walls and ceilings for painting or finishing by covering up imperfections, holes, cracks, and uneven surfaces.
Purpose of Screws in Wall Filler
Screws play a crucial role when used in conjunction with wall filler in various home improvement and interior design projects. The primary purposes of screws in wall filler include:
- Providing Secure Attachment
When screws are embedded in wall filler, they offer a secure and stable attachment point for various objects and fixtures. This attachment can serve multiple purposes, such as:
- Hanging Artwork: Screws can be used to securely hang framed artwork, mirrors, or decorative items on walls, ensuring they remain in place.
- Installing Shelves: Screws anchored in wall filler can support shelving units, creating functional storage space in rooms.
- Mounting Fixtures: Wall-mounted fixtures like towel racks, curtain rods, or light fixtures can be safely attached using screws embedded in the wall filler.
- Securing Cabinets: Wall cabinets and cupboards can be securely installed using screws anchored in wall filler, providing both functionality and aesthetics.
- Enhancing Load-Bearing Capacity
By distributing the weight of objects across the wall surface, screws in wall filler can significantly enhance the load-bearing capacity of the wall. This is especially important for:
- Heavy Items: Screws can be used to safely mount heavy items like televisions, bookshelves, or cabinets, preventing them from falling or causing damage to the wall.
- Increased Stability: When screws are properly installed into wall filler, they provide stability and reduce the risk of objects becoming loose or dislodged.
- Creating a Neat and Tidy Appearance
Using screws in wall filler allows for a clean and tidy appearance in rooms. This is achieved by:
- Concealing Imperfections: Screws can be strategically placed to hide unsightly wall imperfections, such as cracks or holes, by covering them with wall filler and paint.
- Minimizing Visible Hardware: When screws are used to hang objects or fixtures, they minimize the need for visible hardware like hooks or brackets, resulting in a more polished look.
- Customization and Flexibility
Screws in wall filler offer customization and flexibility in interior design and arrangement. They allow you to:
- Adjust and Rearrange: When screws are used with wall anchors and wall filler, objects can be easily adjusted or rearranged without causing damage to the wall surface.
- Personalize Spaces: Screws facilitate the personalization of spaces by allowing you to position and reposition objects according to your preferences.
The purpose of screws in wall filler is to provide a reliable and versatile method for attaching objects, enhancing load-bearing capacity, creating an aesthetically pleasing appearance, and offering customization and flexibility in interior design and home improvement projects. Properly installed screws in wall filler ensure that your wall-mounted items are secure and that your living spaces are both functional and visually appealing.
Types of Wall Fillers
Spackling Paste
- Characteristics and Uses
- Characteristics: Spackling paste is a lightweight and creamy compound used for repairing small to medium-sized imperfections on walls and ceilings. It has a smooth consistency and is easy to apply.
- Common Uses: Spackling paste is primarily used to fill nail holes, minor cracks, dents, and other minor surface imperfections. It’s an ideal choice for quick touch-ups and repairs.
- Pros and Cons
Pros:
- Quick Drying: Spackling paste dries relatively quickly, allowing for swift project completion.
- Easy to Sand: It can be easily sanded to achieve a smooth finish before painting.
- Affordable: Spackling paste is budget-friendly and readily available at hardware stores.
Cons:
- Limited for Large Repairs: It may not be suitable for extensive repairs or covering larger holes or deep crevices.
- Susceptible to Cracking: If applied too thickly, spackling paste can shrink or crack as it dries.
- Not for Heavy-Duty Use: It’s not recommended for structural repairs or supporting heavy objects.
Joint Compound
- Characteristics and Uses
- Characteristics: The joint compound, also known as drywall compound or mud, has a creamy consistency similar to spackling paste but is designed for broader applications. It’s available in various formulations, including lightweight options.
- Common Uses: The joint compound is primarily used for finishing drywall installations, and covering seams, joints, and tape. It’s the go-to choice for achieving a smooth, professional finish on drywall surfaces.
- Pros and Cons
Pros:
- Versatile: Ideal for finishing drywall and creating seamless surfaces by covering joints and seams.
- Suitable for Larger Repairs: It can handle larger repairs and is often used for taping and finishing drywall joints.
- Customizable Options: Available in different formulations to suit specific project needs.
Cons:
- Longer Drying Time: A joint compound typically has a longer drying time compared to a spackling paste.
- Not for Small Repairs: It’s not well-suited for repairing small nail holes or minor blemishes.
- Requires Multiple Coats: Achieving a professional finish may require applying multiple coats, which can extend project timelines.
Patching Plaster
- Characteristics and Uses
- Characteristics: Patching plaster is a robust and heavy-duty wall filler known for its strength and durability. It sets hard and is suitable for both interior and exterior applications.
- Common Uses: Patching plaster is primarily used for repairing larger holes, gouges, or damaged plaster walls. It’s a reliable choice for extensive repairs that require lasting strength.
- Pros and Cons
Pros:
- Durable Repair: Ideal for substantial repairs, patching plaster provides a long-lasting and robust repair.
- Versatile Application: It can be used on various surfaces, including wood and concrete.
- Moisture Resistant: Resistant to moisture, making it suitable for damp environments.
Cons:
- Longer Drying Time: Patching plaster typically has a longer drying time compared to spackling paste and joint compound.
- Requires Careful Mixing: Proper mixing and application are essential for optimal results.
- Less Forgiving for Small Repairs: Its thickness makes it less suitable for small repairs and minor imperfections.
The Role of Screws in Wall Filler
Wall filler serves as a foundation for various wall attachments, allowing you to hang objects, install fixtures, and mount items securely. Understanding the role of screws in wall filler is essential for effectively utilizing this versatile material in your home improvement projects.
Hanging Lightweight Objects
- Proper Screw Size and Type
- Selection Matters: When hanging lightweight objects using wall filler, choosing the right screw size and type is crucial. Use small to medium-sized screws that are appropriate for the weight and size of the object you intend to hang.
- Thread Type: Opt for screws with a thread designed for wood or drywall, depending on the surface you’re working with. Wood screws are suitable for wooden studs, while drywall screws are designed for drywall installations.
- How to Locate Studs
- Sturdy Support: To ensure stability when hanging lightweight objects, it’s advisable to locate and screw directly into wall studs. Use a stud finder or knock on the wall to identify these vertical wooden supports behind the drywall.
- Proper Spacing: Position screws at the same height and evenly spaced to distribute the weight of the object across the stud or studs.
Installing Wall-Mounted Fixtures
- Anchors and Wall Filler
- Anchor Usage: For wall-mounted fixtures such as towel bars, shelves, or curtain rods, wall filler can be used in conjunction with wall anchors. Wall anchors provide additional support, allowing you to securely attach fixtures to the wall, even when studs are not present.
- Proper Installation: Follow the manufacturer’s instructions for installing wall anchors. Typically, this involves drilling a hole, inserting the anchor, and then attaching the fixture using screws provided.
- Weight Considerations
- Assess Weight Limits: Be mindful of the weight limits specified by the wall anchors and the type of wall filler you’re using. Ensure that the combined weight of the fixture and any items you plan to place on it do not exceed these limits to prevent damage to the wall or fixture.
Mounting Heavy Objects
- When Not to Use Wall Filler
- Limitations of Wall Filler: Wall filler has limitations when it comes to supporting heavy objects. It is not suitable for bearing significant weight or structural applications. Avoid using wall filler as the sole means of support for items like heavy shelves, large mirrors, or wall-mounted TVs.
- Alternative Mounting Options
- Alternative Supports: When mounting heavy objects, it’s advisable to explore alternative mounting options such as:
- Wall brackets and anchors are designed for heavy loads.
- Mounting directly into wall studs for maximum support.
- Floor-standing or freestanding solutions that do not require wall attachment.
Understanding the role of screws in wall filler, as well as their limitations, will help you make informed decisions when it comes to hanging, installing, or mounting objects on your walls. Proper screw selection, wall anchor usage, and weight considerations are all critical factors in ensuring the stability and safety of your wall-mounted items.
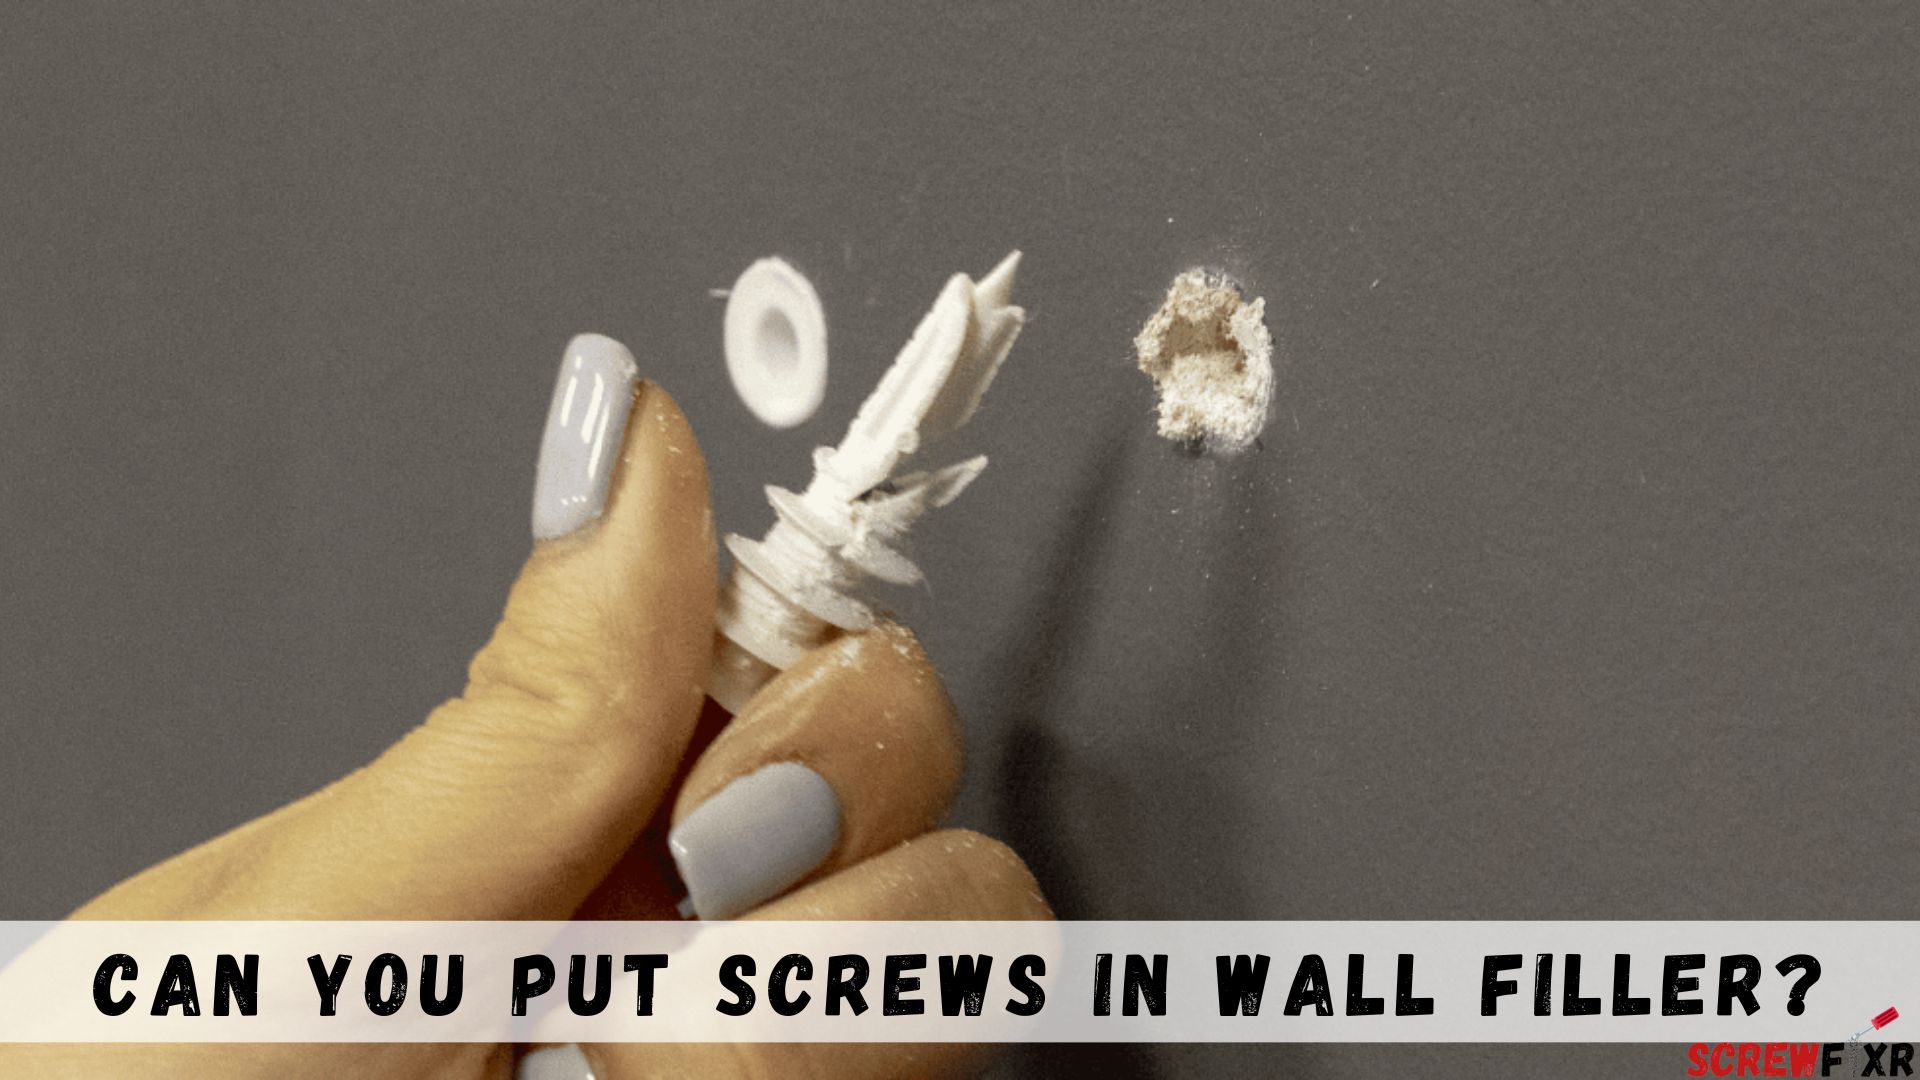
Can You Put Screws in the Wall Filler

If you’re dealing with a wall that has been patched or filled, whether due to damage or for cosmetic reasons, you might be hesitant to put screws into it. The short answer is yes, you can put screws in wall filler, but there are important considerations to keep in mind to ensure a successful outcome.
The Right Tools and Materials
Before attempting to put screws in the wall filler, gather the following tools and materials:
- Appropriate Screws
Choose screws that are suitable for the weight and type of item you intend to hang. Wall anchors may also be necessary for added support.
- Screwdriver or Drill
A screwdriver or drill with the correct bit will make the task easier and more precise.
- Pencil and Level
Mark the exact spot where you want to place the screw and ensure it’s level to avoid crooked installations.
Preparing the Wall Filler
- Clean the Surface
Ensure the wall filler surface is clean and free from dust or debris that could affect the adhesion of the screw.
- Make a Pilot Hole
Drill a small pilot hole using a drill bit slightly smaller than the screw’s diameter. This helps prevent the filler from cracking.
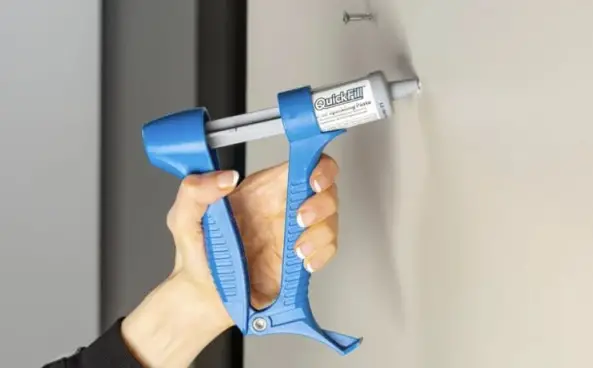
Installing the Screw
- Insert the Screw
Gently insert the screw into the pilot hole, using a screwdriver or drill. Be cautious not to overtighten, as this could damage the filler.
- Use Wall Anchors
For heavier items, it’s advisable to use wall anchors. These provide additional support and prevent the screw from pulling out of the filler.
Frequently Asked Questions
Can you put screws in wall filler without wall anchors?
Yes, you can, but it’s essential to consider the weight of the item you’re hanging. Wall anchors are recommended for heavier objects to ensure a secure hold.
Will screws damage the wall filler?
If done correctly, screwing into the wall filler should not damage it. Using a pilot hole and avoiding overtightening is key to preventing damage.
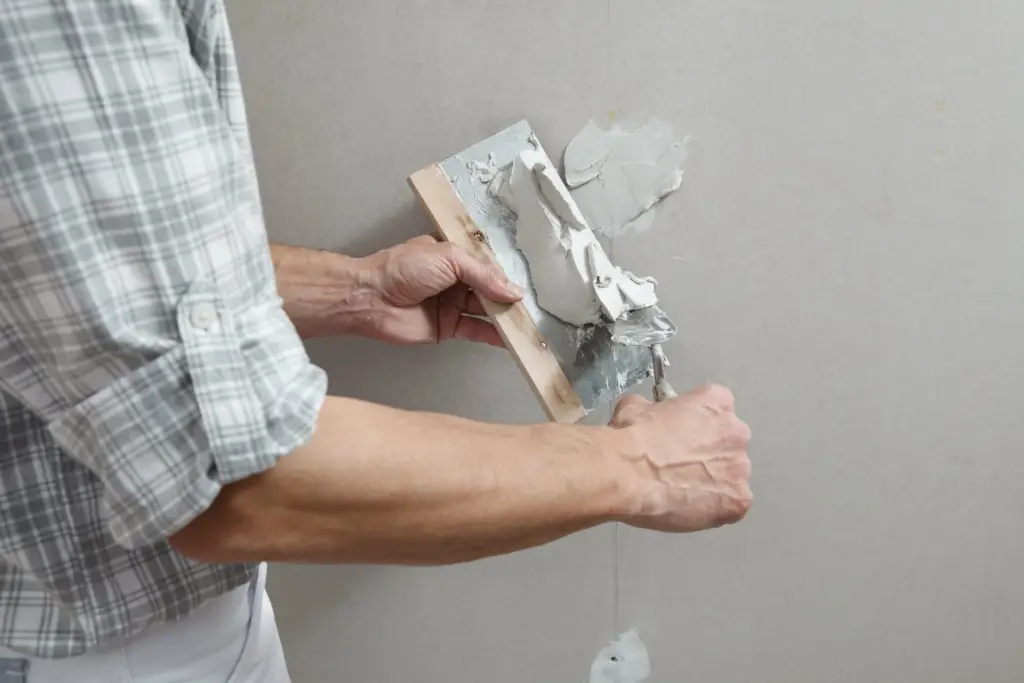
Can I use wall filler to cover the screw heads?
Yes, you can apply a thin layer of wall filler over the screw heads to conceal them. Ensure it’s smooth and blends with the wall surface.
Are there any alternatives to wall filler for hanging items?
Yes, alternatives include using picture hooks, adhesive hooks, or specialized hangers designed for different wall types.
Can I hang heavy mirrors with screws in wall filler?
For heavy items like mirrors, it’s recommended to use wall anchors or find wall studs for a more secure installation.
What if my wall filler is crumbling?
If your wall filler is in poor condition, it’s best to repair it before attempting to insert screws. Crumbling filler won’t provide adequate support.
Conclusion
The answer to the question “Can you put screws in wall filler?” is yes, with the right tools and techniques. By following the steps outlined in this guide and considering the weight of the item you plan to hang, you can achieve a secure and aesthetically pleasing result. Remember to use wall anchors for heavier objects and exercise caution to avoid damaging the filler. With these tips, your DIY projects will be a success, and your walls will look great.
