
Whether you’re moving out of your house or simply changing the décor, there are times when you need to remove wall plugs from your walls. Removing wall plugs is a straightforward process, but if done incorrectly, you could cause damage to your wall.
Here, we’ll walk you through how to remove wall plugs and the steps necessary to remove a wall plug safely and efficiently, so that you can get on with whatever project you have at hand. So let’s get started.
Step-By-Step Guide About How To Remove Wall Plugs
Wall plugs come in many different shapes, sizes, and types, each requiring a special removal technique. First Know the types of wall plugs, walls you have, and the tools you’ll need.
Wall Plugs: There are several types of wall plugs, which all require different tools. The different types are drywall anchors, toggle bolts, molly bolts, and self-drilling anchors.
Wall Types: The type of wall you have will determine the kind of wall plug you need. Drywall walls use plastic wall plugs, while concrete and brick walls require metal or masonry wall plugs. It’s important to make sure you choose the right wall plug for your wall type to ensure a secure fit.
Tools Needed: It totally depends on the size and type of raw plug. But usually, you need an electric drill, screwdriver, pliers, hammer, paint scraper(optional), putty knife (optional), utility knife (optional), safety glasses, work gloves, and a dust mask.
Put on safety glasses, work gloves, and dust masks to protect yourself from injuries.
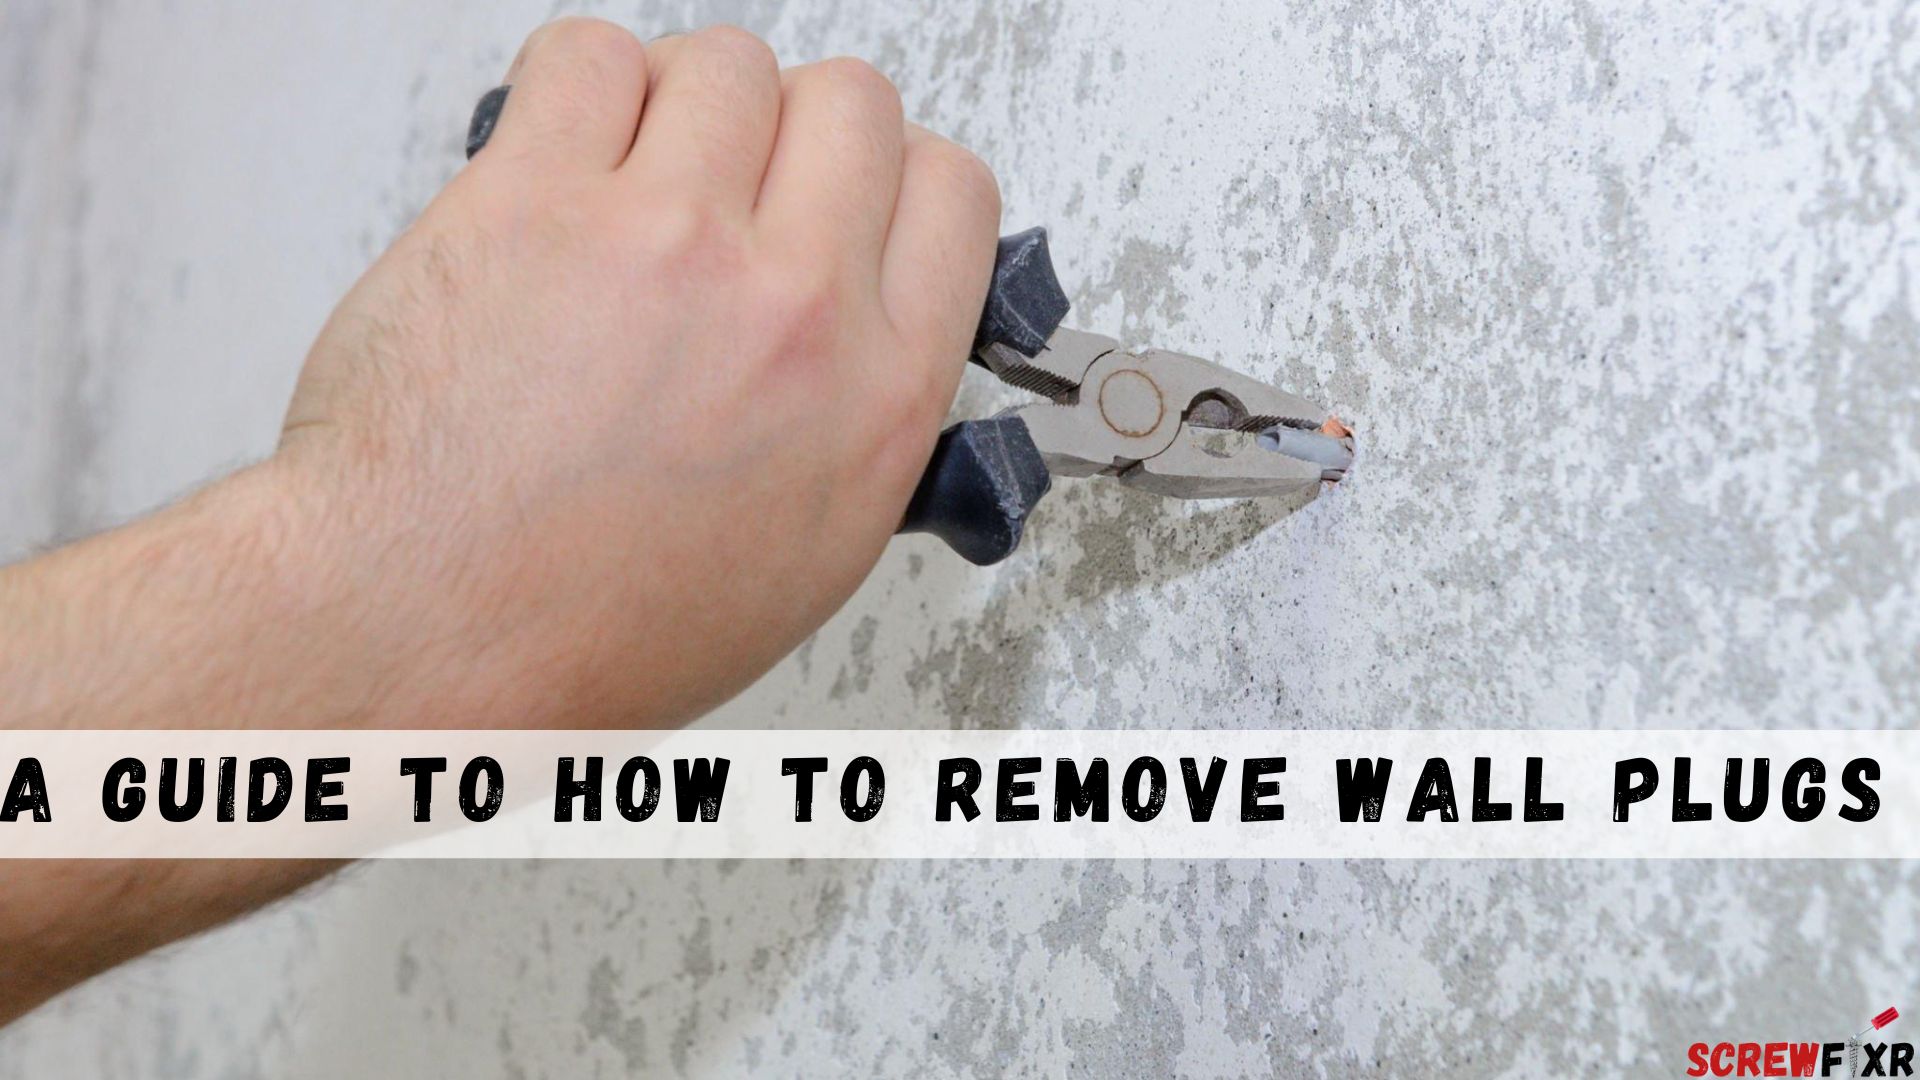
Remove Rawl Plug From Concrete Wall
Step 1 -Start by gathering the tools you will need to remove the wall plug, such as a hammer, screwdriver, and possibly a drill.
Step 2 – If the wall plug is visible, you’ll need to tap it gently with the hammer or your screwdriver to loosen it from the wall. You may have to do this a few times before it loosens.
Step 3 – Once it is loose, use your screwdriver to twist and pull the plug out of the wall. If it is difficult to remove, you may need to use a drill to widen the hole.
Step 4 – If you are removing an old wall plug that is recessed into the wall, use a drill bit to remove any material that may be blocking the plug.
Step 5 – After removing all of the material, twist and pull the plug out of the wall with a screwdriver. If it is difficult to remove, you may need to use pliers or a claw hammer to help you.
Step 6 – Pull the plug out of the wall with your hands or pliers. After removing dispose of the plug properly.
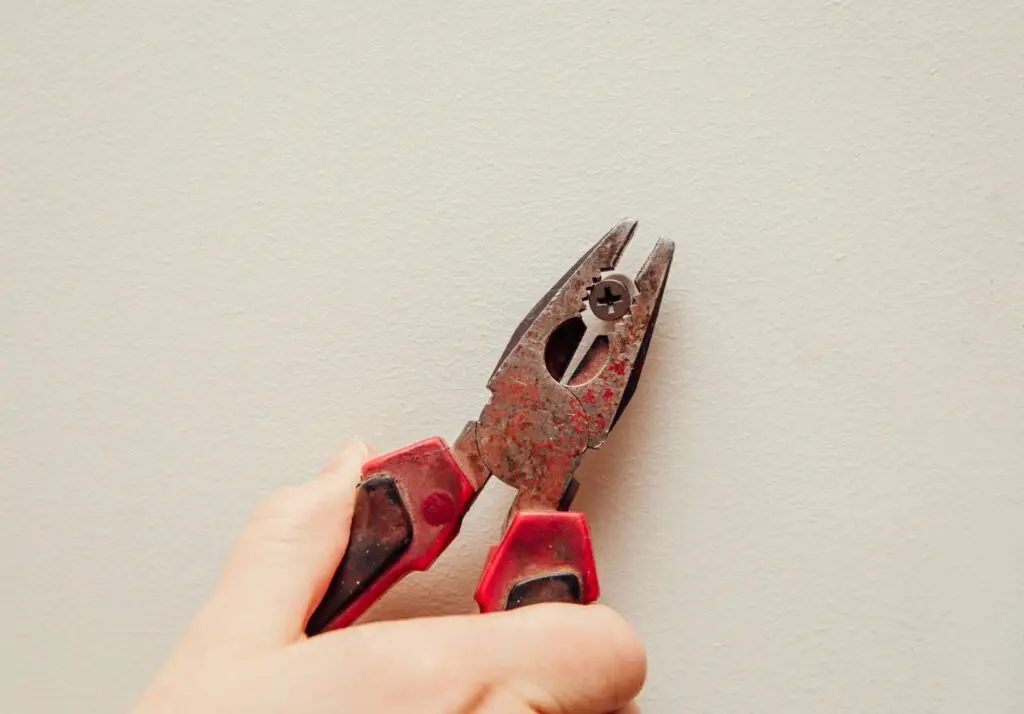
How to remove rawl plug from Tiles
Step 1 – Begin by finding a screw of the same size as the wall plug.
Step 2 – Use a screwdriver to insert the screw into the hole in the wall plug and carefully tighten it.
Step 3 – Take a pair of pliers and carefully grip the screw. Move it back and forth while pulling it outward.
Step 4 – Keep the pliers at a distance from the tiles to avoid cracking them.
Step 5 – Continue to use the pliers to pull out the screw until it is completely removed.
Step 6 – Use the vacuum cleaner to remove any debris that has been created.
Step 7 – Discard the raw plug in an appropriate manner.
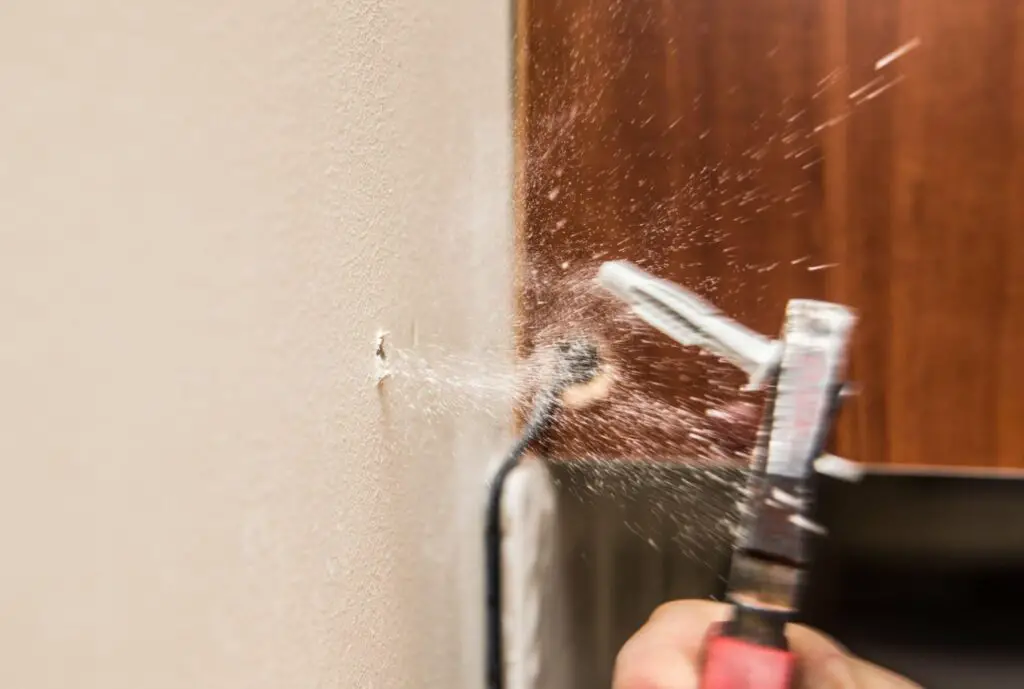
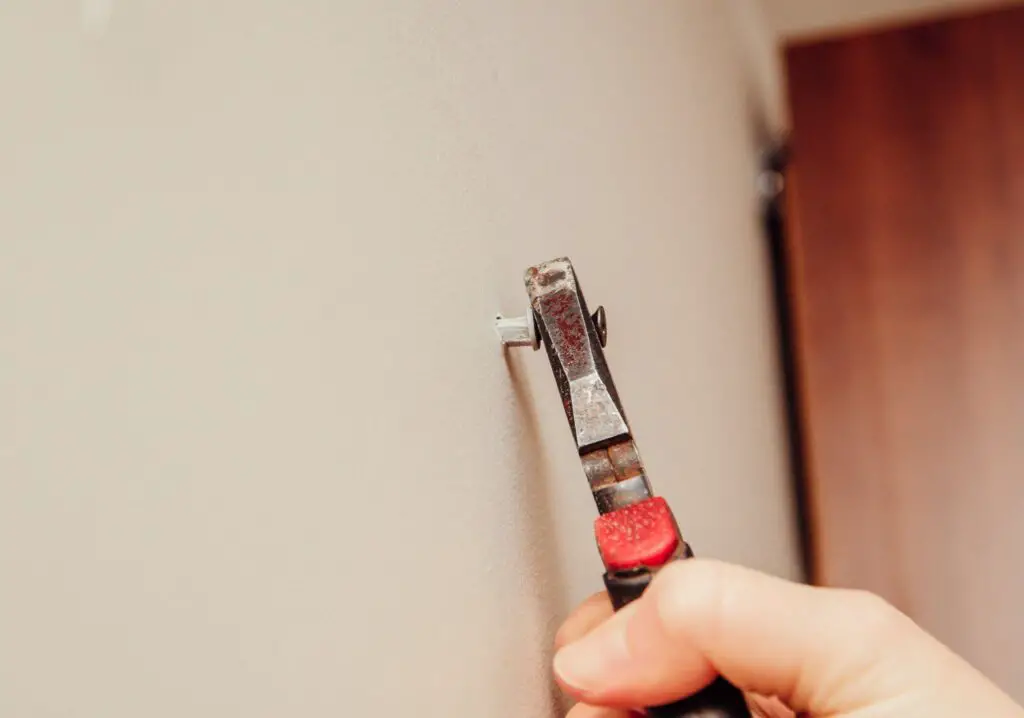
How to remove rawl plug from Wooden Wall
Step 1 – You will need a drill, a drill bit, a pair of pliers (Depending on the size and type of raw plug), safety glasses, and gloves.
Step 2 – Put on safety glasses and gloves before starting to work. Place the drill bit into the drill and secure it. Make sure the bit is a bit size that is larger than the head of the raw plug.
Step 3 – Place the tip of the drill bit directly over the head of the raw plug and begin drilling. Make sure to keep the drill level and not put too much pressure on the drill as this could cause damage to the wooden wall.
Step 4 – Insert the tip of the pliers into the hole and use them to grip the raw plug from behind.
Step 5 – Pull the raw plug out with the pliers.
Step 6 – Clean up any debris and patch the hole with spackle or putty.
Step 7 – Apply a small amount of putty to fill in any holes left behind by the raw plug. Allow drying completely before painting, decorating, or hanging any items on this part of the wall.
Using a block of Wood support
You can easily Remove the wall plug by supporting the wood block on the wall. Place the block of wood on the wall around it and then use a hammer to tap on the wood block to help loosen the plug if needed. Be careful not to damage the wall or plug when using the hammer.
Read Also: Can WD-40 Remove A Screw?
How To Avoid Damage To Wall When Removing Wall Plugs?
Use the right tools – Make sure to use the correct tools for removing wall plugs.
Take your time – Don’t rush when removing wall plugs. Go slowly and carefully, and pay attention to any resistance or cracking sounds as you remove them. If you feel resistance or hear cracking, stop immediately and check if there is any damage. If there is, you may need to repair it before proceeding.
Filling The Hole After Removing A Wall Plug?
Use a utility knife to cut away any excess drywall material around the hole. Then use a putty knife to fill the hole with a drywall joint compound or spackling paste. Allow the compound or paste to dry completely before sanding it down until it is flush with the wall. Cut a piece of mesh tape slightly larger than the patch and press it over the patch firmly. Apply another layer of joint compound over the tape and allow it to dry completely.
Once the compound has dried, sand it down until the patch is flush with the wall. In the end, use a caulking gun to fill any gaps around the patch with a paintable latex sealant.
What Kind Of Paint And Sealant Is Needed To Restore The Wall After Removing A Plug?
The type of paint and sealant that is needed to restore the wall after removing a plug will depend on the type of surface you are working with. For drywall, you typically need a primer, two coats of paint, and a sealant to ensure optimal adhesion and protection. If you are dealing with a masonry surface, such as concrete, you may need to use a concrete sealer in addition to the primer and paint.
FAQ About To Remove Wall Plugs
Can you remove and reuse raw plugs?
Yes, you can remove and reuse raw plugs as long as they are not damaged or weakened.
What should I do if the raw plug will not come out?
If the raw plug is stuck and won’t come out, you can try using a pair of pliers or a flathead screwdriver to gently pry it out. If that does not work, you may need to drill a hole into the raw plug and use a screw extractor to remove it.
Should I use lubricant when removing a raw plug?
Yes, it is a good idea to use a lubricant when removing a raw plug. Lubricating the bolt or screw can help reduce friction and make it easier to remove the raw plug. Be sure to use an appropriate lubricant for the material that the raw plug is made of, to avoid any damage to the plug.
In The End
Now we think you learn about how to remove wall plugs. So, whether you’re hanging a picture or need to remove a wall plug for any other reason, don’t be afraid to tackle the task yourself. With a few simple tools and a bit of know-how, you can easily remove those stubborn wall plugs and make your walls look as good as new.
You May Also Like:
How Long Will Zinc Screws Last Outside
