
Gaming consoles are prized possessions, and when issues arise, it’s essential to have the know-how to tackle them. One common problem PS4 users encounter is dealing with stripped screws on their controllers. These tiny annoyances can prevent you from enjoying your gaming sessions to the fullest. In this comprehensive guide, we will walk you through the process to remove a stripped screw from a PS4 controller, ensuring that you can get back to gaming without any hindrances.
Understanding the Challenge
Before diving into the solutions, it’s crucial to understand why stripped screws happen in the first place. Stripped screws often occur due to over-tightening, using the wrong screwdriver, or simply wear and tear over time. These screws can be challenging to remove, but with the right tools and techniques, you can successfully conquer this issue.
Essential Tools and Materials
When it comes to removing a stripped screw from your PS4 controller, having the right tools and materials is crucial. Here’s what you’ll need:
Screwdriver Types and Sizes
- Phillips Screwdriver: Make sure you have a Phillips screwdriver with a size that matches the screws in your PS4 controller. Typically, you’ll need a small Phillips screwdriver for this job.
- Precision Screwdriver Set: A set of precision screwdrivers with various sizes can be extremely handy, especially if you’re dealing with screws of different sizes in your controller.
- Magnetic Screwdriver: Using a magnetic screwdriver can make it easier to handle and remove small screws without dropping them.
Safety Gear for the Job
- Safety Glasses: Protect your eyes from any flying debris or accidental splinters by wearing safety glasses.
- Gloves: It’s a good idea to wear gloves to prevent any accidental cuts or injuries while working with tools.
- Dust Mask: If your PS4 controller is dusty or you’re working in a dusty environment, consider wearing a dust mask to avoid inhaling particles.
Replacement Screws
Sometimes, you might encounter screws that are too damaged to be reused. It’s a good practice to have replacement screws on hand. You can find replacement screws for your PS4 controller at electronics stores or online. Ensure they match the size and type of the original screws to ensure a secure fit once you’ve successfully removed the stripped screw.
Preparing Your Workspace
Before you begin the process of removing a stripped screw from your PS4 controller, it’s important to prepare your workspace adequately. Taking these steps will help ensure a successful and safe repair.
Setting Up a Clean, Well-Lit Area
- Choose a Clean Surface: Find a flat and clean surface to work on, such as a table or workbench. This will help prevent any small parts or screws from getting lost in clutter.
- Good Lighting: Ensure that your workspace is well-lit. Adequate lighting is essential for seeing the fine details of the controller and screws.
- Cleanliness: Clear away any debris, dust, or other potential contaminants from your workspace. This will help maintain the cleanliness of your PS4 controller during the repair.
Gathering All Necessary Tools and Materials
- Refer to Your Tools List: Double-check your list of essential tools and materials from section III to make sure you have everything you need within arm’s reach.
- Organize Your Tools: Arrange your tools neatly in your workspace. This will make it easier to access them as you progress through the repair.
- Prepare a Container: Have a small container or tray nearby to place screws and small parts in. This prevents them from rolling away or getting lost during the process.
Safety Precautions Before Starting
- Safety Gear: Put on your safety glasses and gloves to protect your eyes and hands from potential hazards.
- Ventilation: If you’re using any chemicals or solvents during the repair, ensure that your workspace is well-ventilated to avoid inhaling fumes.
- Power Off Your Controller: Before you begin any disassembly, turn off and unplug your PS4 controller if it’s currently powered on or connected to a power source.
Taking these steps to prepare your workspace will set the stage for a successful and safe removal of the stripped screw from your PS4 controller.
How to Remove a Stripped Screw From a PS4 Controller Step-By-Step Guide
Removing a stripped screw from your PS4 controller may require different methods and techniques. Here’s a detailed breakdown of the various approaches you can try:
Assessing the Damage
Before attempting any removal method, start by assessing the extent of the damage to the stripped screw.
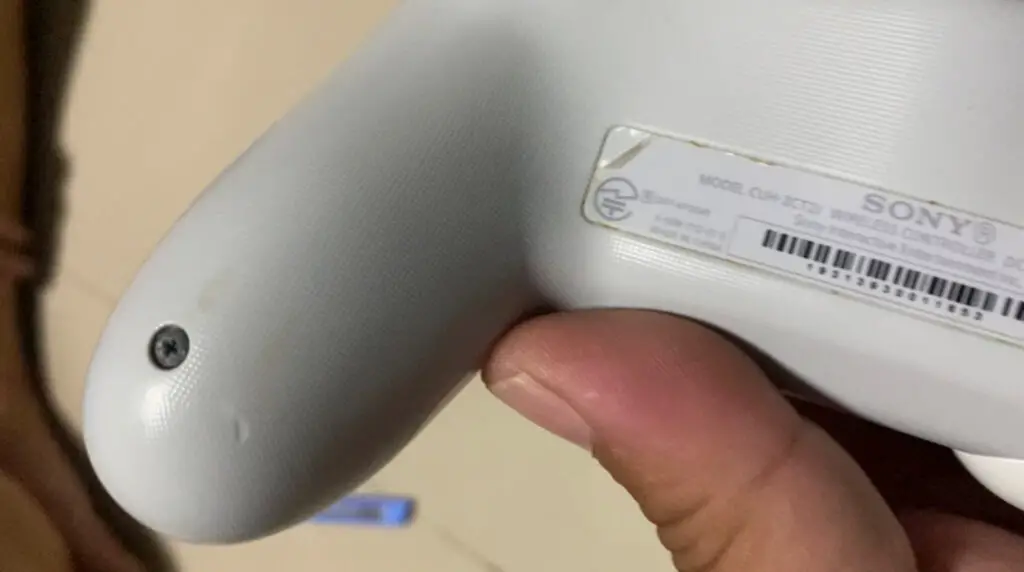
- Visual Inspection: Carefully examine the stripped screw. Look for any visible signs of wear or damage. Note the condition of the screw head, such as whether it’s flattened or deformed.
- Screwdriver Fit Test: Attempt to fit your screwdriver into the screw head. If it slips or doesn’t grip securely, it’s a clear indication that the screw is stripped.
Using the Rubber Band Method
The rubber band method can be surprisingly effective for removing stripped screws.
- Explaining the Technique: The technique involves placing a rubber band over the stripped screw and then using your screwdriver to grip and turn it. The rubber band provides additional grip and traction.
- Step-by-Step Instructions:
- Cut a small piece of rubber band and place it over the stripped screw.
- Press the screwdriver firmly into the screw while turning it counterclockwise.
- The rubber band should grip the screw, allowing you to turn it and remove it.
Applying Heat
Heat can expand the metal around the screw, making it easier to turn and remove.
- Why Heat Can Help: Heating the area around the screw can cause the metal to expand, breaking the bond between the screw and the material.
- Safe Heating Methods:
- Use a heat gun or a hair dryer to heat the area around the screw for about 1-2 minutes. Avoid excessive heat to prevent damage to the controller.
- After heating, attempt to turn the screw counterclockwise using the appropriate screwdriver.
Using a Screw Extractor
Screw extractors are specially designed tools for removing stripped screws.
- Overview of Extractor Tools: Screw extractors come in various sizes. Choose an extractor that matches the size of your stripped screw.
- Step-by-Step Extraction Process:
- Drill a small hole into the center of the stripped screw using the appropriate drill bit.
- Insert the screw extractor into the hole and turn it counterclockwise. The extractor will grip the screw and allow you to remove it.
E. Alternative Methods
If the above methods do not work, consider these alternative approaches:
- Rubber Band and Pliers:
- Place a rubber band over the stripped screw and grip it with pliers. Turn counterclockwise to remove.
- Super Glue and Allen Key:
- Apply a small amount of super glue to the stripped screw head and insert an Allen key. Allow the glue to dry, then turn counterclockwise to remove.
- Left-Handed Drill Bit Technique:
- Use a left-handed drill bit in reverse to create a counterclockwise motion that can help loosen the screw as it turns.
Try these methods sequentially until you successfully remove the stripped screw from your PS4 controller. Be patient and gentle to avoid damaging the controller further.
Frequently Asked Questions
Can I use a regular screwdriver?
While it’s possible to use a regular screwdriver, it’s highly recommended to use a precision screwdriver for better control and less risk of causing further damage.
Is it necessary to replace the stripped screw?
If you successfully remove the stripped screw without damaging it, there’s no need to replace it. However, if it’s damaged beyond use, consider replacing it with a new screw.
What if the controller is still under warranty?
If your PS4 controller is under warranty, it’s best to contact Sony for assistance. Attempting to fix it yourself may void the warranty.
Can I prevent stripped screws in the future?
To prevent stripped screws, avoid over-tightening, and always use the appropriate tools and screwdrivers when working with your PS4 controller.
Are there professional repair services available?
Yes, many professional repair services specialize in fixing gaming consoles, including PS4 controllers. If you’re uncomfortable attempting the repair yourself, seek professional help.
Is there a specific screwdriver size I should use?
For PS4 controllers, a T8 or T9 Torx screwdriver is typically the correct size for most screws.
Conclusion
Dealing with a stripped screw on your PS4 controller can be frustrating, but with the right tools and techniques, you can successfully remove it without causing further damage. Remember to be patient and cautious throughout the process. Your gaming gear will be back in action in no time!
